
Side by side: a blurry photo of a ruby ring with a dark, out-of-focus center stone, and the AI result with a sharp round-cut ruby and clean pavé diamonds in yellow gold
A retoucher can only work with what the camera recorded. If the center stone in your photo is out of focus, buried in dark reflections, or too small in the frame, the facets are not in the file. No retoucher, human or AI, can bring back what was never captured.
Since September 2026, NeuroViz, an AI jewelry photography platform, has a different answer to that problem. You tell the app what the stone is: ruby, round cut. Diamond, round cut. The Gemstone Cut Selector then renders the correct faceting for that stone type and cut on your piece, in your lighting. The same control works in the 3D CAD Visualizer, where a CAD file carries geometry but rarely a real cut.
This guide covers what the selector does, how to use it on a bad photo, what is in the cut library, and how it changes rendering from CAD, including a new control for open prongs. It follows the walkthrough Alex Koloskov, founder of NeuroViz and of the Photigy School of Photography, recorded on 11 September 2026:
(5 minutes).Why can’t a retoucher fix a blurry gemstone?
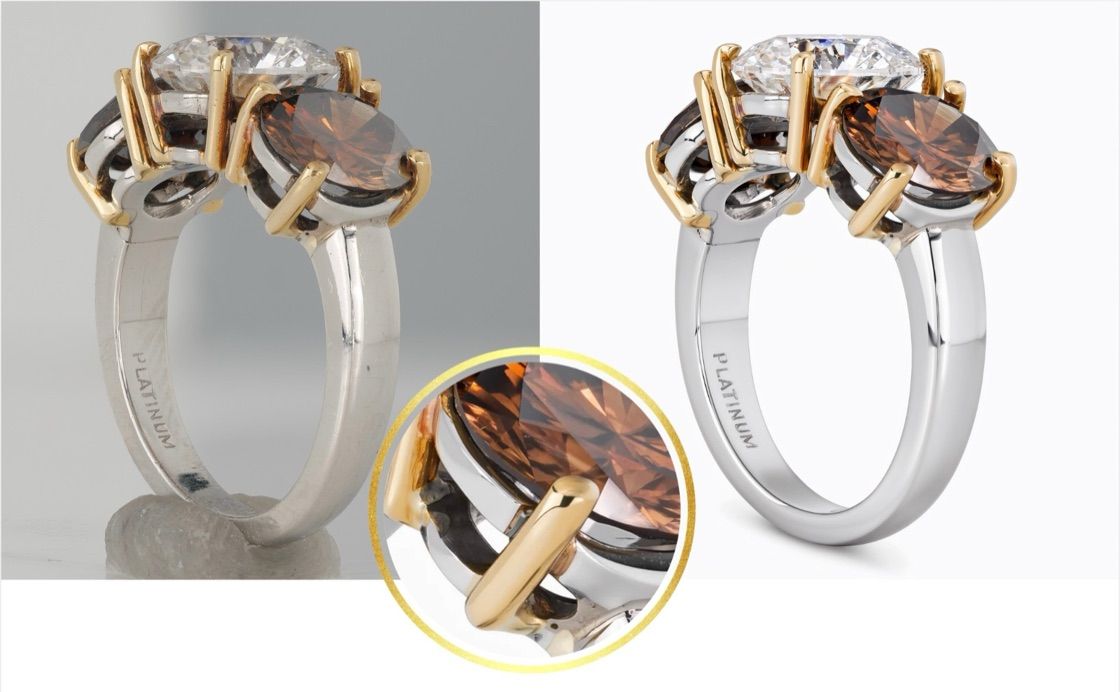
Because there is nothing to recover. A retoucher, whether a person in Photoshop or a jewelry-trained AI, sharpens, cleans and relights what the sensor captured. When the central stone is blurred by camera shake, sits outside the focus plane, or is lost in deep dark reflections, the facet pattern never made it into the file. A precise retoucher will faithfully preserve a blurry stone, and the result is a faithful, blurry stone.
Good photos have the same problem with large stones. Alex’s example in the video is a ruby ring shot on a kitchen counter, but a well-lit studio shot of a big diamond can lose half the table to deep shadows and reflections. Precision, the most literal of the three NeuroViz retouchers, is built to keep every facet exactly as photographed, so it keeps the dark half too. For stones that were photographed properly, our guide to retouching diamond and gemstone photos covers fire, color and inclusions.
Takeaway: retouching improves what the camera saw. When the facets were never captured, the fix is to tell the AI what the stone is and how it is cut.
What does the Gemstone Cut Selector do?
It lets you set the stone type and its cut for up to three stones in one image, and the AI renders that cut’s facet pattern onto the piece. The control lives in the Metal & Gemstone Colors block of the retouchers and the 3D CAD Visualizer, next to the metal color you could already choose. For each slot (Gemstone #1, #2 and #3) you pick the type, optionally a color, and now a cut. When a cut is selected, its reference image appears beside the slot, so you see the facet pattern the AI will follow before you spend a credit.

The Metal & Gemstone Colors panel in the NeuroViz retoucher: metal set to 24K Pure Gold, Gemstone #1 set to Diamond with the cut set to Round, and a preview window showing the round brilliant facet pattern that will be applied
Two things about how it behaves.
It overrides. A selected cut replaces whatever the AI would infer from the photo, so pick the cut the piece actually has. Choose round for a cushion stone and you get a round stone.
It is optional. Leave the cut unselected and the retoucher keeps the cut as photographed, the way it always has. The app’s own guidance is to pick a cut only when you need to change the original or when the cut is not clearly visible in the upload.
Secondary stones count too. Set the accent diamonds as Gemstone #2, round, and the AI treats them as the second stone type. In Alex’s test the small pavé diamonds improved as much as the center ruby.
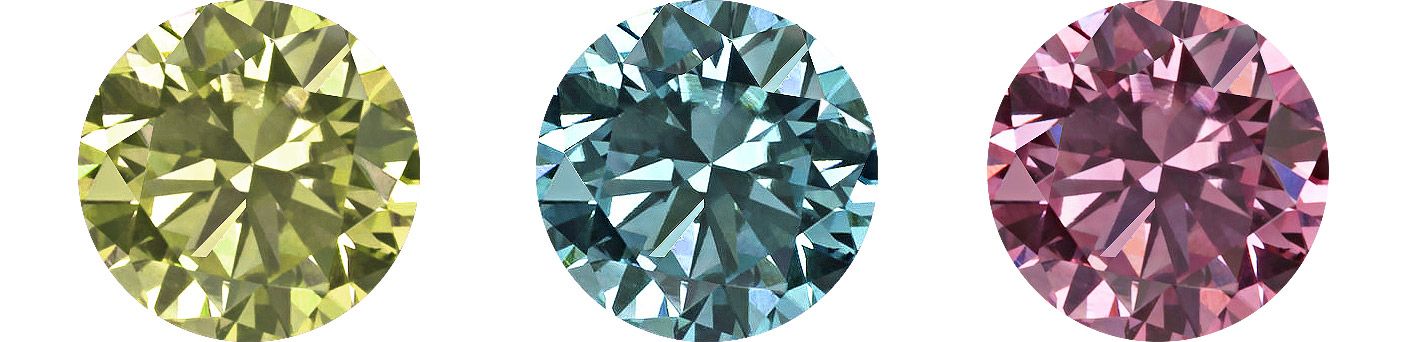
The stone types are the ones the retouchers already knew: diamond, emerald, ruby, sapphire, amethyst, aquamarine, topaz, citrine, peridot, garnet, opal, pearl, tanzanite, morganite, tourmaline and onyx. The cut list runs from round, oval, cushion, princess and emerald through pear, marquise, radiant, asscher, heart, trillion and baguette to cabochon, rose, old mine, drop, button, baroque and freeform.
Takeaway: the selector renders the stone you specify, correct facets included, in the place and lighting of the original photo. Choose what the piece really has.
How do you restore a gemstone in a blurry jewelry photo?
The walkthrough takes a ruby ring with an out-of-focus center stone through the retoucher twice: once as a plain retouch, once with the selector. Five steps.
- Upload the photo to the retoucher. Alex uses Jewelry Retoucher Precision for the demo; for a low-resolution or badly damaged shot, Rescue is the better starting point.
- Run it once without the selector if you want a comparison. On the ruby ring the plain retouch cleaned the metal and the background, and the center stone came back dark and soft, because the facets were never in the photo.
- Open Metal & Gemstone Colors. Set the metal (18K yellow gold in the demo). For Gemstone #1 choose Ruby and set the cut to Round. The cut preview appears next to the slot.
- Set the accent stones. Gemstone #2: Diamond, cut Round. Nothing else needs to change.
- Generate and compare. Download both results and open them side by side. In the demo the ruby came back with a clean round-brilliant facet pattern and a true red, and the pavé diamonds sharpened with it.

The AI result: a yellow gold ring with a round-cut ruby center stone showing a full facet pattern, pavé diamonds along the band, on a white background
The photo you start with can be genuinely bad. Alex’s original is a small, soft frame of the ring on a countertop, 687 pixels wide. The output is a catalog image on white. Old shots and rough archive photos that were unusable before can now produce a clean, professional image, and as far as we know no other AI retouching tool offers this level of gemstone control.
Takeaway: for a photo with a bad center stone, set the metal, the stone type and the cut, then run the retoucher as usual. That is the whole change.
Which stones and cuts are in the library?
More than a hundred cuts across the stone types the retoucher knows, and the library is still being filled. Open Settings and scroll to the gemstone library beside the metal color library. Every stone type is listed with its default color, which you can change, and its default cuts. The screenshot below shows 13 cuts under Diamond and 8 under Emerald.

The Gemstone Cut Images section in NeuroViz Settings: Diamond with 13 cuts, Emerald expanded to show Emerald, Oval, Cushion, Round and Pear cuts, each with a system default image and an Upload button
Two details worth knowing. A cut without an image is left out of the Cut dropdown, and a stone type with no images at all shows “Not available”, so if a cut you expect is missing from the selector, the library is the place to look. And Pro members can upload their own cut reference for any stone and cut: the image you upload is what the selector shows and what is sent along with your photo, and uploading is also what makes that cut selectable. This is how you cover an unusual cut, or a house cut you want rendered the same way every time.
If your stone is not in the list at all, describe it in the instructions field. The selector is a shortcut, and the prompt still works.
Does it work on CAD renders?
Yes, and there it solves a different problem. A CAD or 3D file carries the geometry of a piece, but the stone in it is usually a placeholder shape with no real facets. Rendered as is, the gemstone comes out as a schematic. Set the type and cut in the Metal & Gemstones panel of the 3D CAD Visualizer and the render applies that facet pattern instead of guessing. The jewelry CAD rendering guide walks through the full file-to-photo workflow.

The 3D CAD Visualizer render panel: a CAD snapshot of a pendant on the left, Metal & Gemstones in the middle with Light Rose Gold, Diamond and a Round cut preview, and Render Settings on the right with the Prongs already closed toggle below the snapshot
There is also a new control for prongs. Many CAD designs have open prongs, because that is how the piece exists before the stones are set. The Prongs already closed toggle tells the renderer what to do. Leave it on when your prongs are modelled closed and they are preserved exactly as modelled. Switch it off when they are open and the render closes them over each stone, so the piece looks manufactured. You can now also choose how they close, Round or Claw, under Prong type.

Two settings in the 3D CAD Visualizer: the Prongs already closed toggle with its explanation, and Prong type with Round and Claw options
Takeaway: on a CAD file, pick the stone and cut and check the prong toggle before you spend credits on a render. Those two settings decide whether the result looks like a finished piece or a model.
When should you use the selector?
| Situation | Plain retouch | With the Gemstone Cut Selector |
|---|---|---|
| Center stone out of focus or blurred | Metal and background cleaned, stone stays soft | Stone rendered with the correct cut and color |
| Large stone with deep dark reflections | Dark areas preserved as photographed | Facets rendered evenly across the stone |
| Small pavé or accent stones | Cleaned as seen | Rendered as the second stone type and cut you set |
| CAD file with placeholder stones | Schematic stone in the render | Real facet pattern for the chosen cut |
| Cut clearly visible in a good photo | Kept as photographed | Leave the cut unselected |
What does it cost?
Nothing extra. The selector is part of the render settings and adds no credits. A retouch costs what it did before: Rescue from 5 credits, Precision from 20, Vivid 25 at 1 megapixel, with higher resolutions and a solid or transparent background adding credits on top. The Generate button always shows the exact total for your settings. A CAD render in Precision starts at 5 credits and typically runs about 20. At the volume rate of $0.02 per credit, a 20-credit run is $0.40. Every new account gets 80 free credits with no card, enough for a few comparisons on your own worst photo. Full details are on the pricing page, and if you are comparing jewelry photo editing tools more broadly, our 2026 roundup covers the alternatives.
FAQ
Does the Gemstone Cut Selector add credits to a retouch?
No. It is part of the Metal & Gemstone Colors settings. Rescue starts at 5 credits, Precision at 20 and Vivid at 25 at 1 megapixel, with or without a cut selected.
Which NeuroViz apps have the cut selector?
All three jewelry retouchers (Precision, Rescue and Vivid) and both render models of the 3D CAD Visualizer, Precision and Vivid.
Will it change the cut of a stone that was photographed clearly?
Only if you select a different cut. Leave the cut unselected and the retoucher keeps the cut as photographed. Select one to correct a stone that is not clearly visible, or to change the cut on purpose.
Can I add a cut that is not in the library?
Pro members can upload their own cut reference image in Settings, under Gemstone Cut Images. The uploaded image is used in every generation that picks that cut, and it makes the cut selectable in the dropdown.
How many stones can I set per image?
Up to three stone types, each with its own color and cut, in the Gemstone #1, #2 and #3 slots. A ruby center with diamond accents is two selections.
What does the Prongs already closed toggle do?
In the 3D CAD Visualizer it tells the renderer whether the prongs in your file are already modelled closed. On, they are preserved exactly as modelled. Off, the render closes the open prongs over each stone, round or claw, so the piece looks manufactured.
Try it on a photo you gave up on
If you have an old shot with a soft or badly lit center stone, that is the ideal test. Run it through the retoucher with the correct stone type and cut selected, then compare it with what the same file produced before.