NeuroViz

New in the Jewelry Suite: 3D CAD Visualizer

3D CAD Visualizer for Jewelry

Product Photos Before the Piece Is Made

Open your jewelry CAD file in the browser, line up the angles you want, and get back photorealistic product photos of a piece that has not been manufactured yet. Same file, any metal. No sample, no photographer, no studio.

  • No credit card required
  • Opening files and setting up views is free
  • Commercial license included
Works withClaude · ChatGPT · CursorConnect your AI assistant
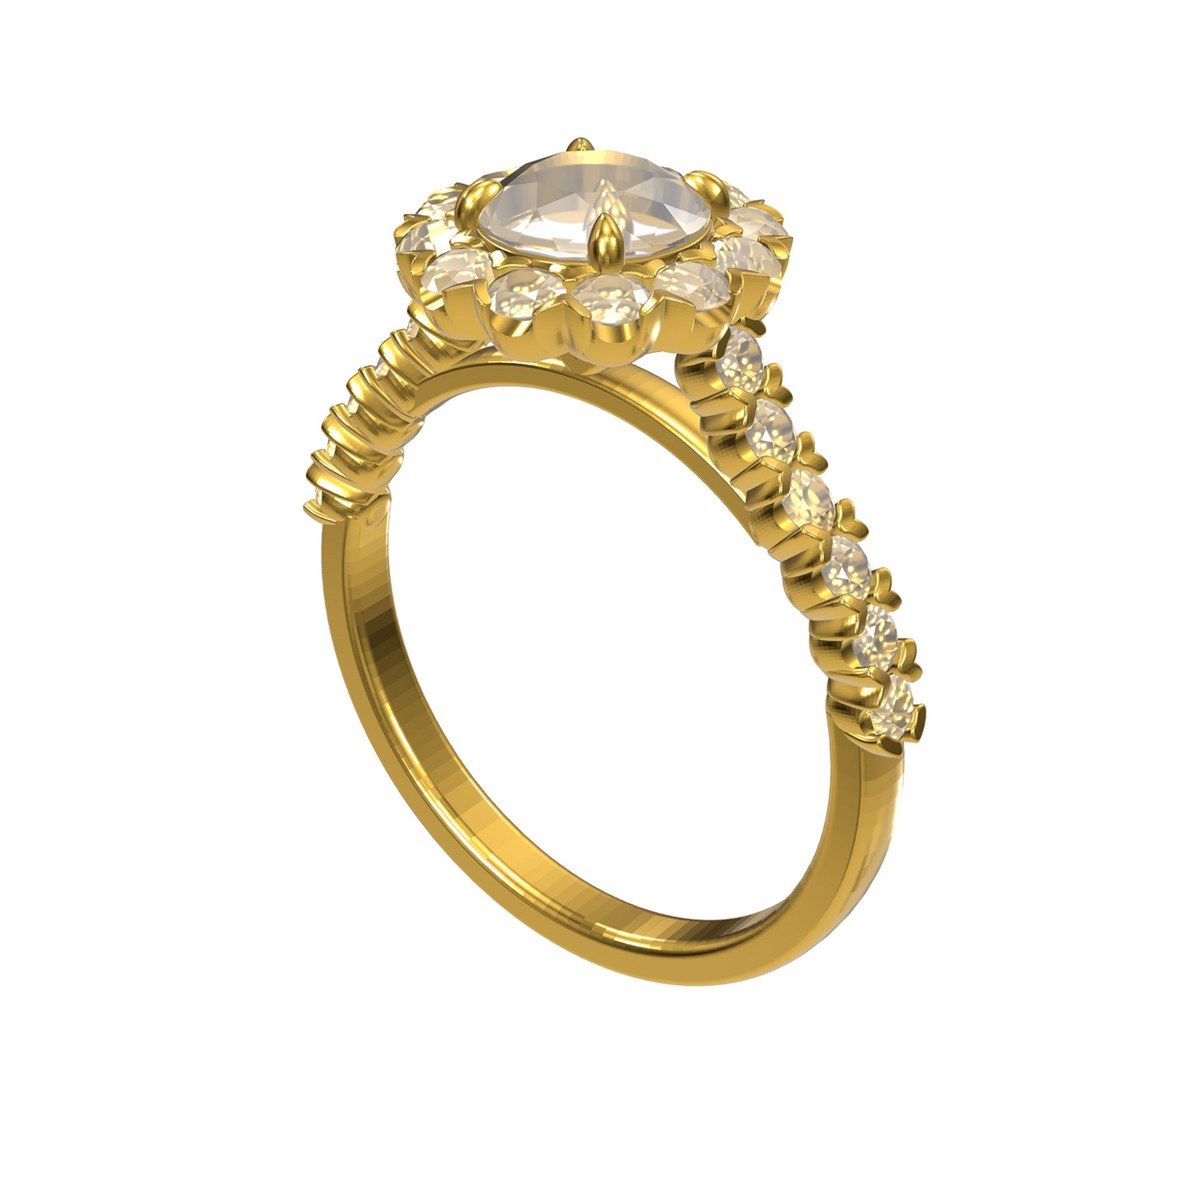
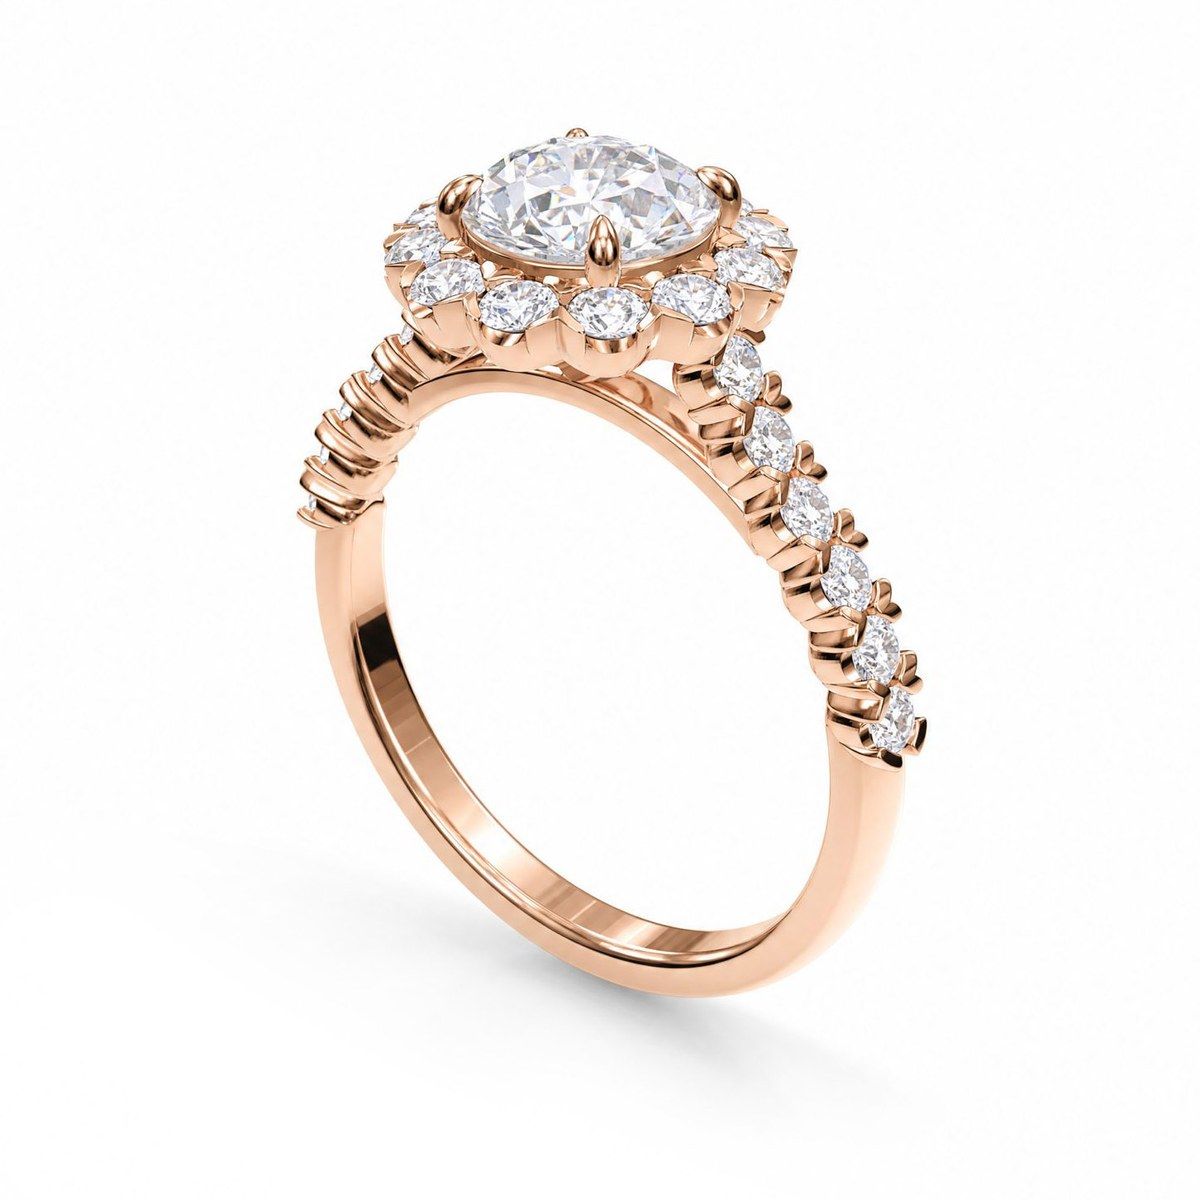
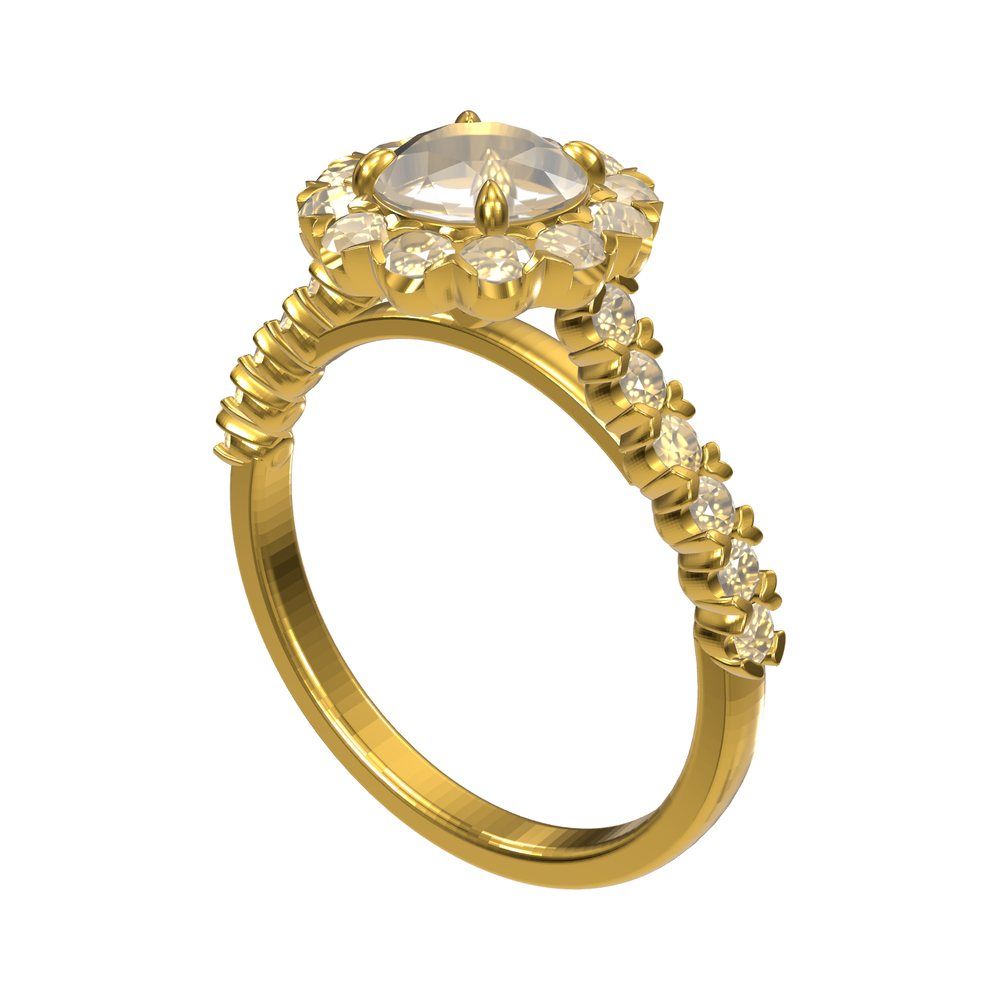
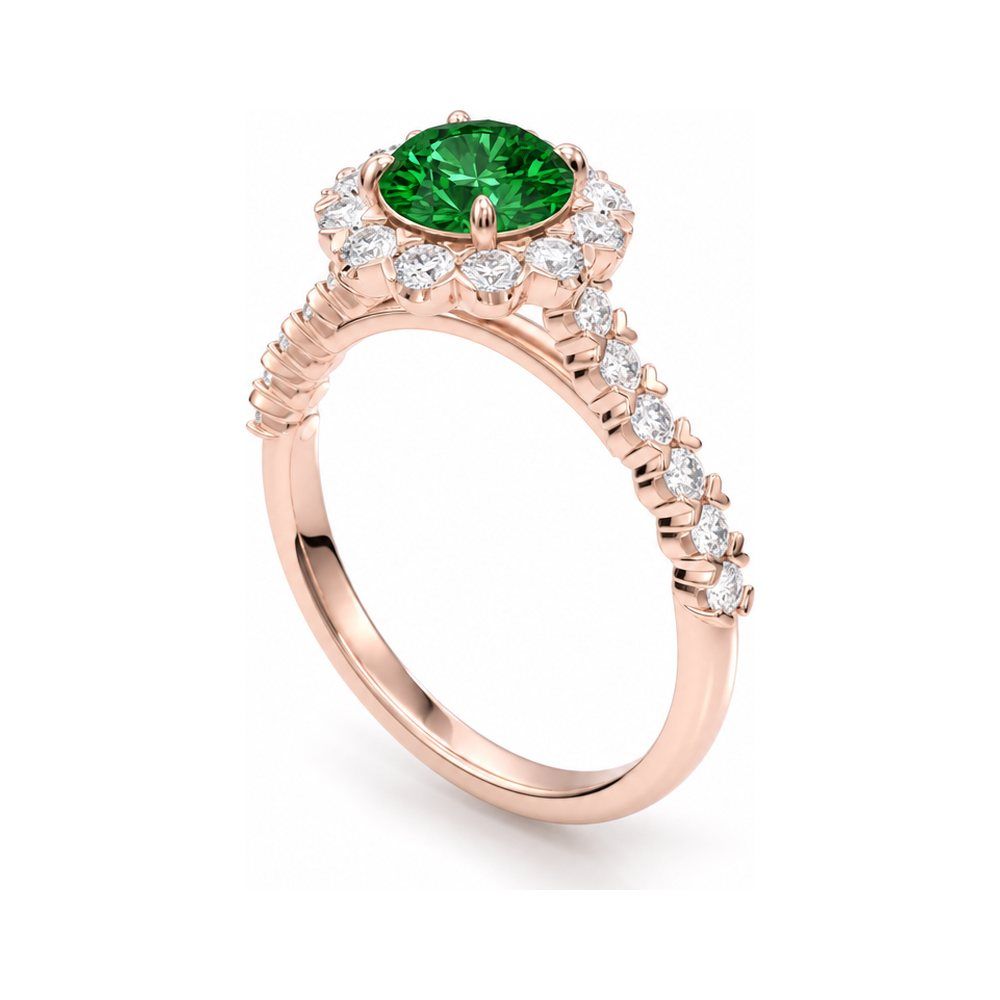
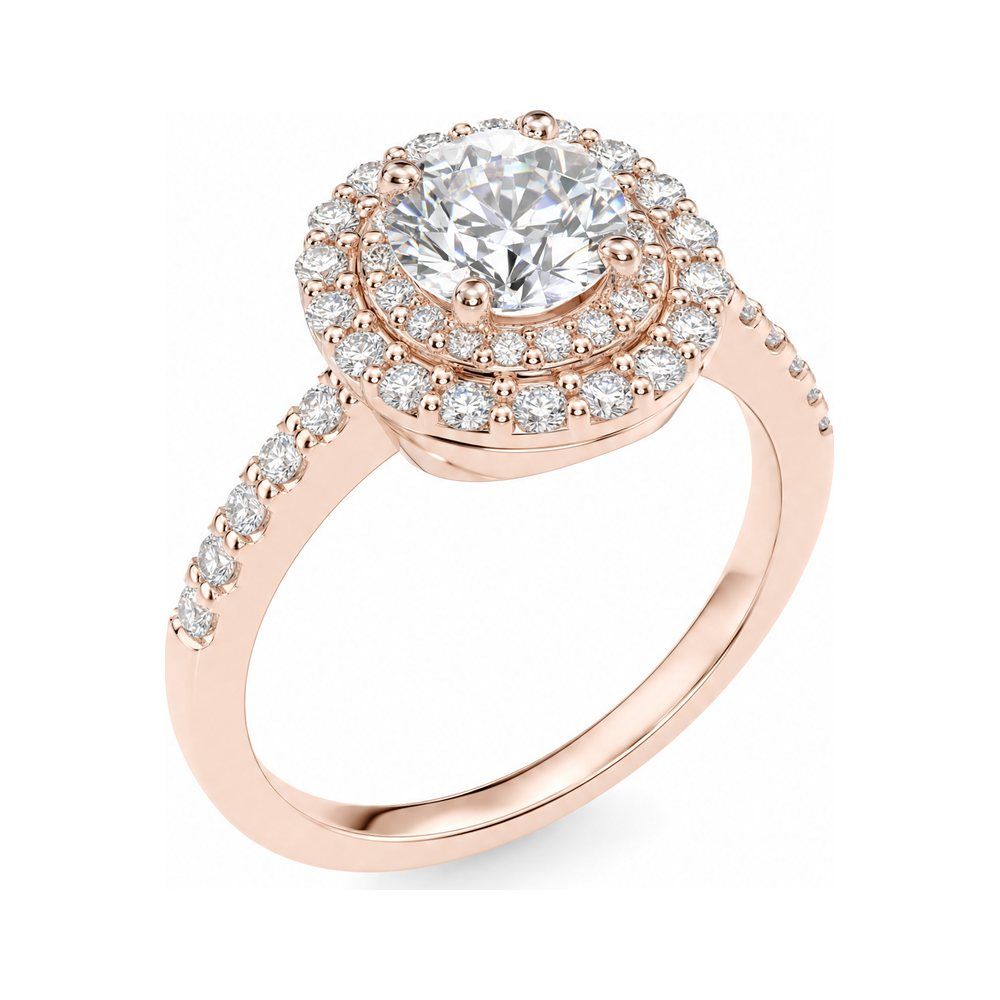
A jewelry CAD file of a halo engagement ring as it appears in the 3D viewer, before renderingThe same CAD file rendered as a photorealistic rose gold product photo with a round centre diamond and diamond pavé shouldersCAD fileProduct photo
4 photosFrom one CAD file, one run
0 creditsTo open, orbit and convert
500+Jewelry businesses
60 MBMax CAD file size
4Angles per render
1K–4KOutput resolution
5 crRenders start from

Quick Answer

What Is the NeuroViz 3D CAD Visualizer?

The NeuroViz 3D CAD Visualizer is a jewelry CAD rendering tool that runs in the browser. It opens JewelCAD, Rhino 3DM, STL, OBJ and GLB files up to 60 MB, shows the model in a real 3D viewer, and renders the views you choose as photorealistic product photos. Select up to four views and one generation returns four finished photos.

You pick one of two render models: Precision keeps every stone, prong and proportion exactly as modelled, and Vivid pushes colour, contrast and lighting for ads and social. Metal, up to three gemstone types and the cut of each stone are set at render time, so one file becomes yellow, white or rose gold, with the cut you choose from a library of more than a hundred, without touching the model.

A Precision render starts at 5 credits and typically runs about 20 (around $0.40 at volume pricing); Vivid is 25. Opening a file, orbiting it, taking snapshots and converting between formats cost nothing.

A second tab, Image to CAD, turns one photo of a real piece into a 3D model. There is no subscription: you buy pay-as-you-go credits and spend them across every NeuroViz tool, and both render models are available through the API.

How It Works

How Jewelry CAD Rendering Works in NeuroViz (3 Steps, No Sample Required)

Rendering a CAD file used to mean a specialist, a rendering licence and a day of waiting. Here the whole chain runs in your browser. The first two steps cost nothing, and you pay only when you render.

1

Open Your CAD File

JewelCAD, Rhino 3DM, STL, OBJ, GLB and other common 3D formats, up to 60 MB. What loads is a real 3D viewer, not a static preview: right mouse button to orbit the piece, scroll to zoom. The viewer reads the file and reports what it found, down to the part count, the number of stones and the dimensions in millimetres.

2

Pick Your Angles

Front, top, side, three-quarter and back views are prepared for you. If none of them shows the piece the way you want, rotate to the view you like and hit Snapshot. Select up to four views and each becomes its own variation: one generation returns four finished photos from four angles.

3

Set Metal, Stones and Output, Then Render

Choose Precision or Vivid, pick the metal colour, up to three gemstone types and the cut of each stone, and set the resolution from 1K to 4K on white, any solid colour or transparent. The defaults are sensible, so most runs need nothing changed. Finished photos land in your gallery, ready for your store, your line sheet or virtual try-on.

Steps 1 and 2: a halo ring loaded from a Rhino file. The viewer reports 1 part, 25 stones and 21 × 10 × 25 mm, with four prepared views ready to render.
Step 3: metal set to light rose gold, diamond selected for the stones, 1K square output. The credit cost of each quality level is shown before you run.

Choose Your Look

Two Render Models: True to the File, or Built to Sell

Both models start from the same snapshot of your CAD file. The difference is how far they are allowed to go from it.

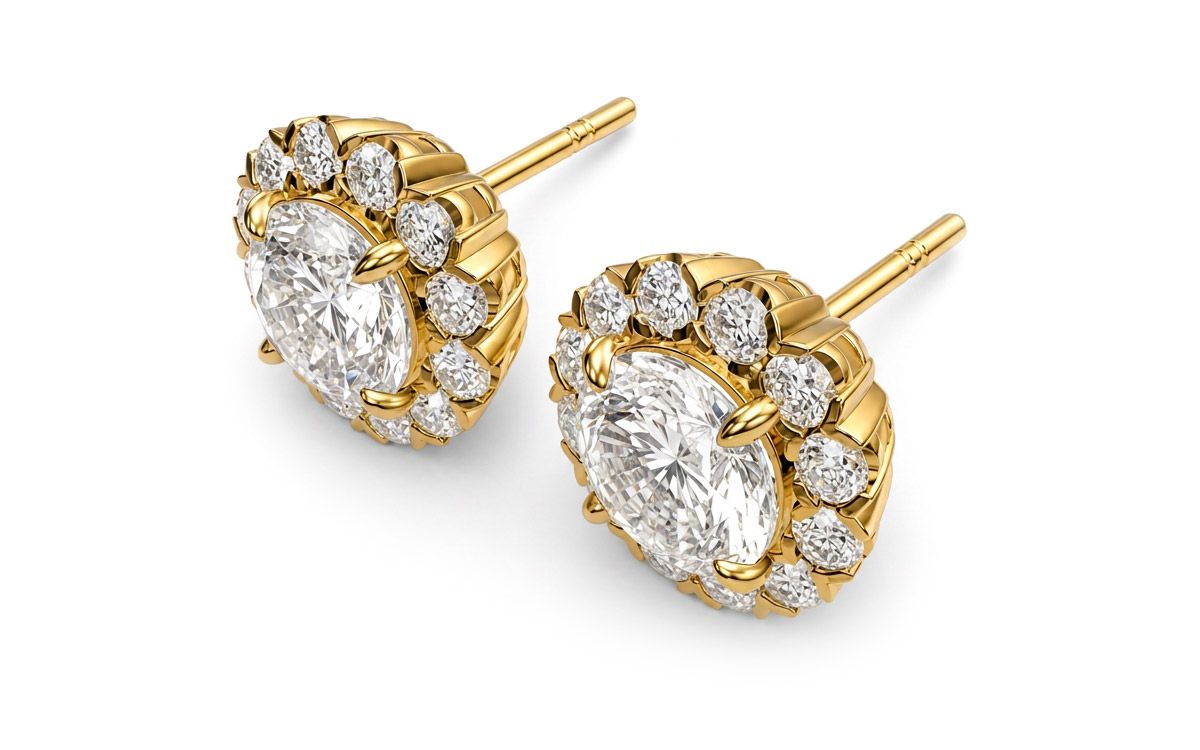
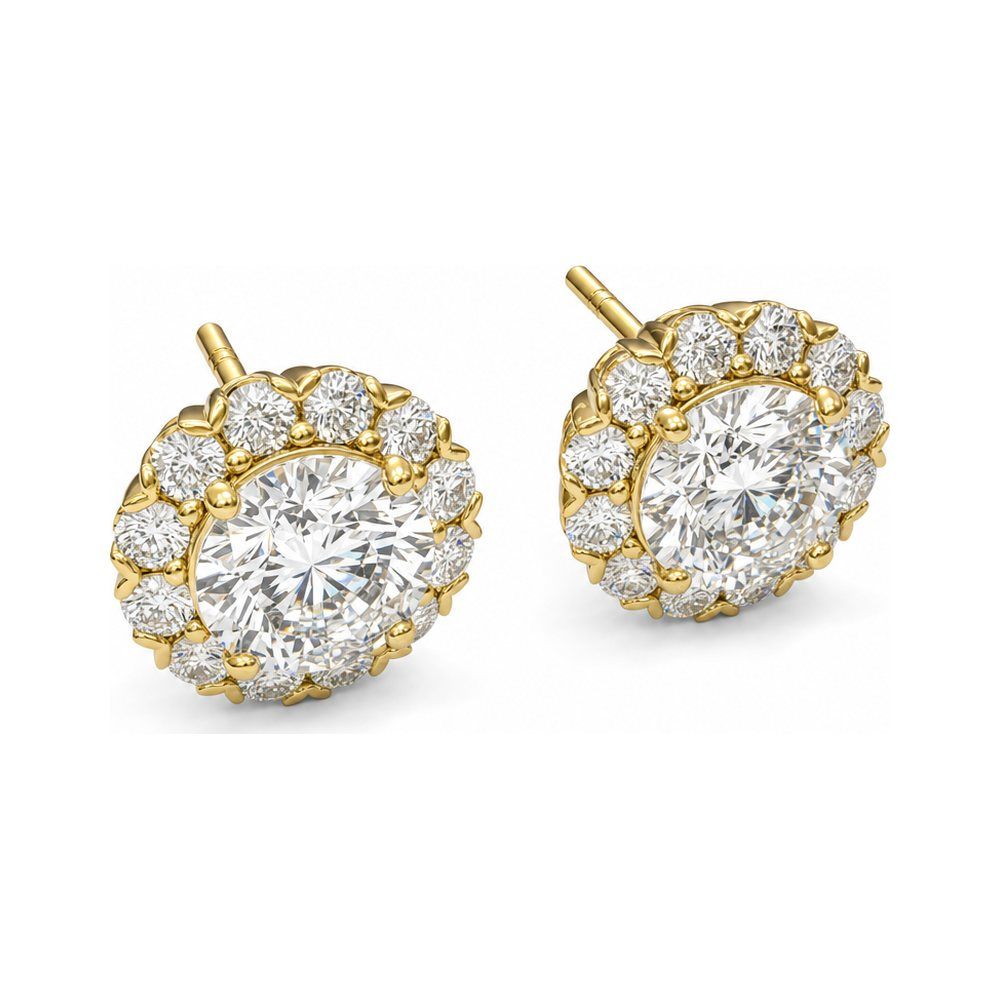
CAD Image Visualizer Precision example: a pair of yellow gold halo stud earrings rendered from a CAD file as a clean studio product photo
Catalog

CAD Image Visualizer Precision

Every stone and prong exactly as you built it.

Precision stays true to your model. Proportions, stone count, prong tips and the metal colour you chose come back as a clean studio product photo on white, the kind that goes straight onto a product page or into a line sheet.

Best for: Catalog photos before manufacturing, made-to-order listings, showing a client their bespoke piece finished, metal variants from one file.

Pro Tip — Select all four prepared views in one run. You get four catalog angles for one generation, and the piece stays consistent across them.

From 5 credits per render · typically 20 (~$0.40) at the default 1K medium setting

Try Precision Free
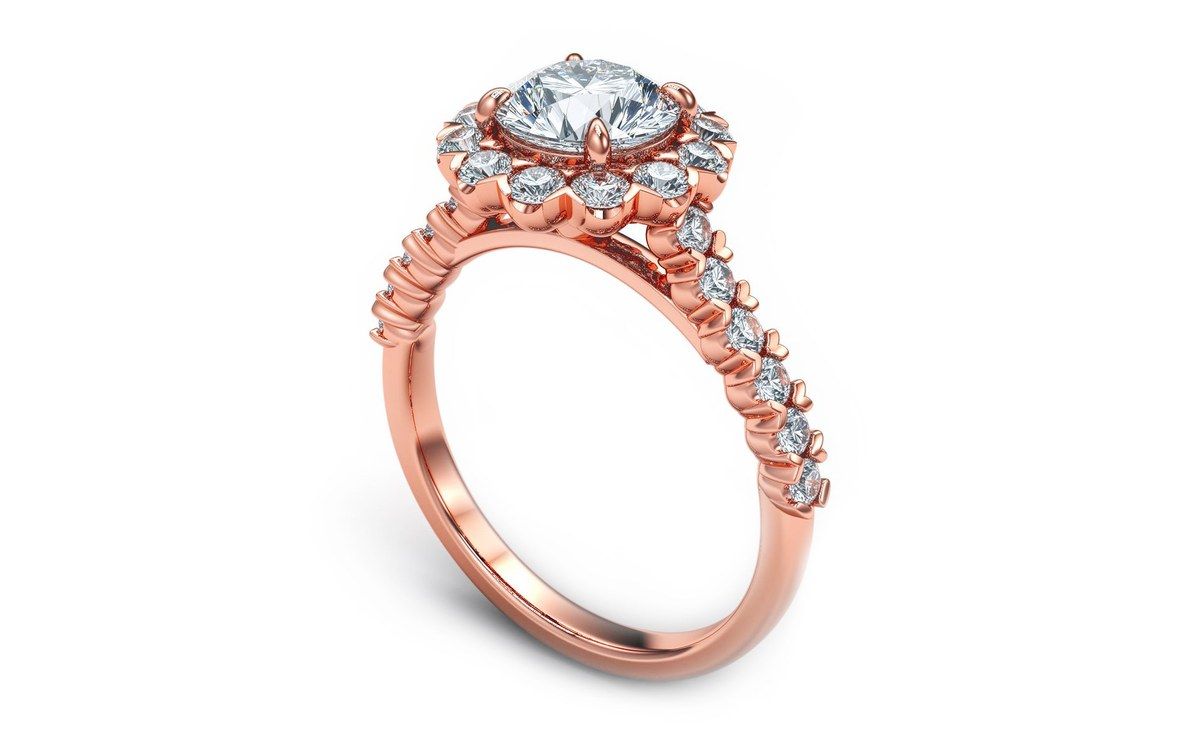
CAD Image Visualizer Vivid example: a rose gold halo ring rendered from a CAD file with deeper shadows, richer metal and stronger sparkle for marketing use
Marketing

CAD Image Visualizer Vivid

The same design, with the lights turned up.

Vivid pushes colour, contrast and lighting for ads, social and hero images. Deeper shadows, richer metal, more sparkle in the stones. Use it when the photo has to stop a scroll rather than document a design.

Best for: Instagram and Pinterest posts, paid ads, campaign teasers for a collection that is still in CAD.

Pro Tip — Render Precision first for the catalog, then send the same snapshot through Vivid for the campaign shot. Same angles, two jobs done.

25 credits per render · ~$0.50

Try Vivid Free

Metal & Gemstones

One CAD File. Yellow, White and Rose Gold.

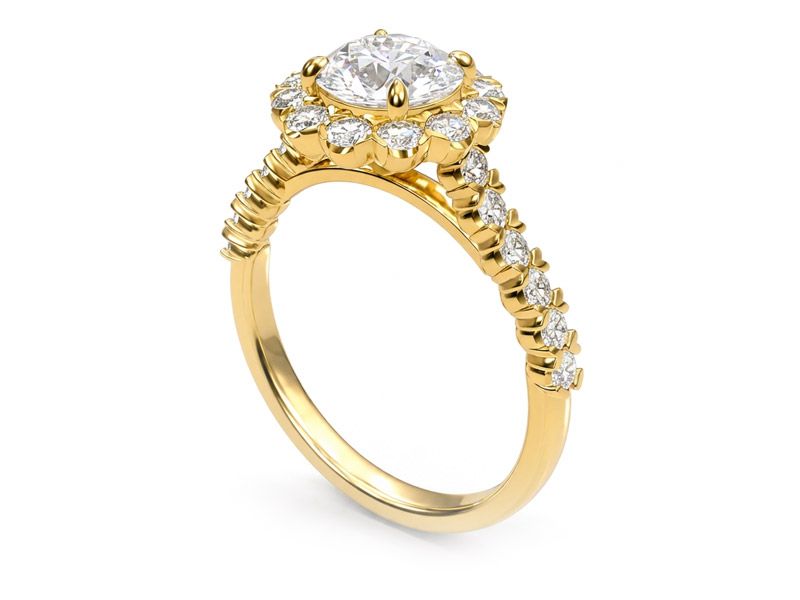
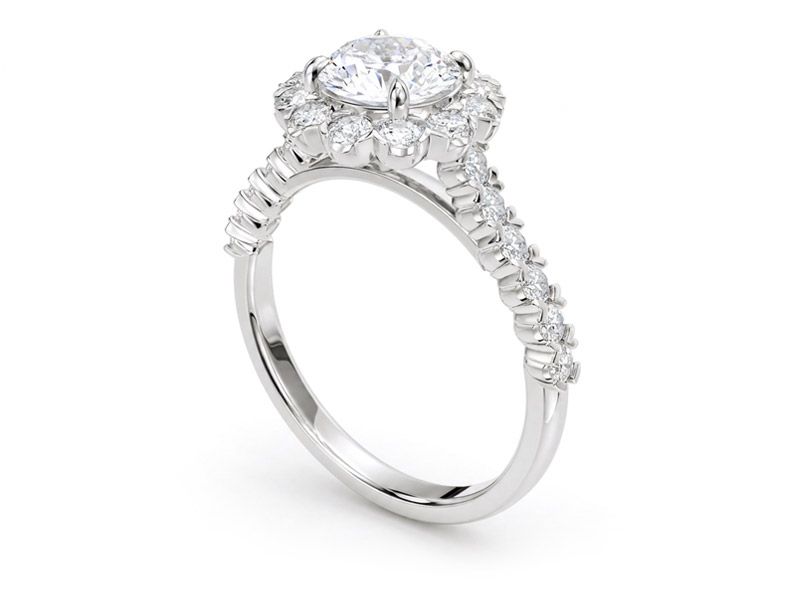
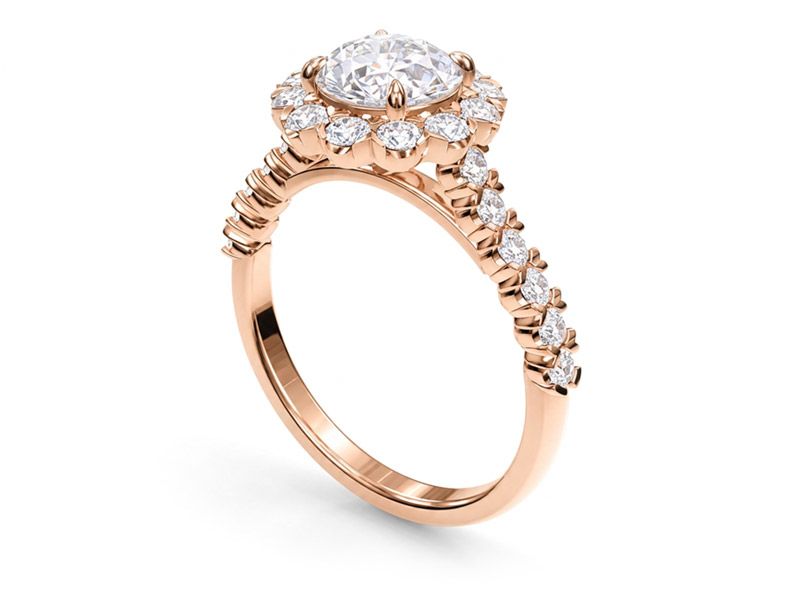
The metal in your CAD file is not the metal in your photo. You choose the metal colour and up to three gemstone types at render time, and your choices override whatever the AI would infer from the geometry. The same model below was rendered three times with nothing edited.

The halo ring rendered from the CAD file in yellow gold with a round centre diamond and diamond pavé shoulders

Yellow gold

Precision

The same halo ring rendered from the same CAD file in white gold

White gold

Precision

The same halo ring rendered from the same CAD file in rose gold

Rose gold

Precision

New: Gemstone Cut Selector

Real Facets on Every Stone, Not a Schematic

Most CAD and 3D files carry no real cut on the gemstone. The stone is a placeholder shape that marks where it sits, and a render made from it has to guess the facets. The Gemstone Cut Selector removes the guess: for every gemstone slot you pick the stone and its cut, and the render applies that facet pattern.

It sits on the same panel where you set the metal. Choose diamond and round for the centre stone, or emerald for the centre with round diamonds around it, and the selected cut shows as an image next to the slot before you run. The library holds more than a hundred cuts across the gemstone types the render knows, more are being added, and you can upload your own cut image in Settings for anything unusual.

  • Per stone, not per piece. Up to three gemstone types per render, each with its own cut and colour. An emerald centre with diamond accents is two selections.
  • A preview before you spend credits. The chosen cut is shown as an image next to the slot, so you see the facet pattern the render will follow.
  • Your own cuts. Upload a cut image in Settings and it appears in the selector for every render after that.
  • Prongs already closed toggle. Many CAD files are built with the prongs open. Leave the toggle off and the render closes them over each stone; switch it on when your prongs are already modelled closed.
  • The same selector in the retouchers. The Precision, Rescue and Vivid retouchers carry it too, so a dark, blurred or overexposed stone in a real photo comes back with the right cut and colour.
  • Optional, always. Leave it empty and the render reads the stone from the geometry as before, or describe an unlisted stone in the instructions.
The cut is chosen next to the stone. Diamond, round: the preview shows the exact facet pattern before the render runs. The Prongs already closed toggle sits under the snapshot.
A walkthrough with Alex: a ring rendered with a round diamond, the same file re-rendered with an emerald centre, then a dark ruby in a real photo fixed in the Rescue retoucher with the same selector.

Results

CAD File to Product Photo: Drag to Compare

Five files rendered straight from the viewer. Metal and stones were chosen on the render panel; nothing was edited in the CAD model. Drag the handle on each card to move between the file on the left and the finished photo on the right.

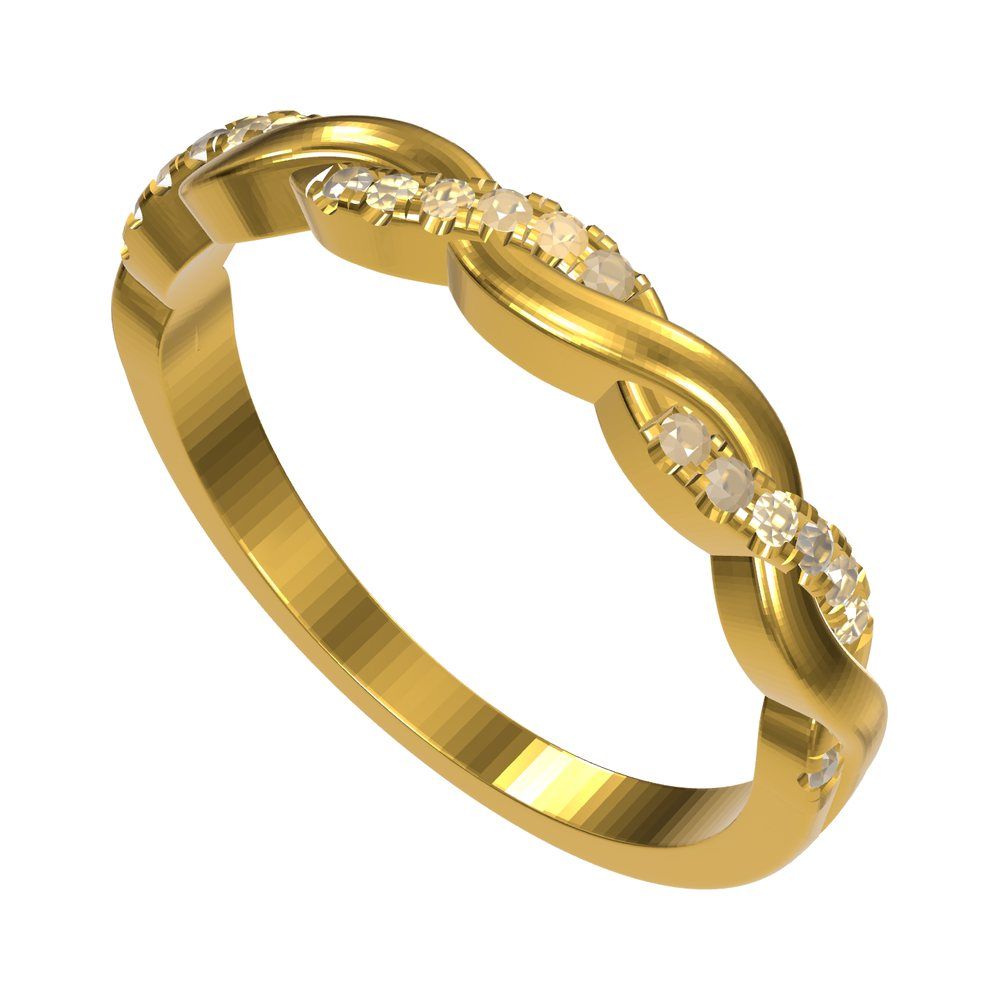
CAD model of a halo ring with a round centre stone and pavé shoulders, as it looks in the 3D viewerThe same halo ring rendered as a product photo in rose gold with an emerald centre stone and diamond haloCAD fileProduct photo

Halo Ring, Emerald Centre

Rose gold
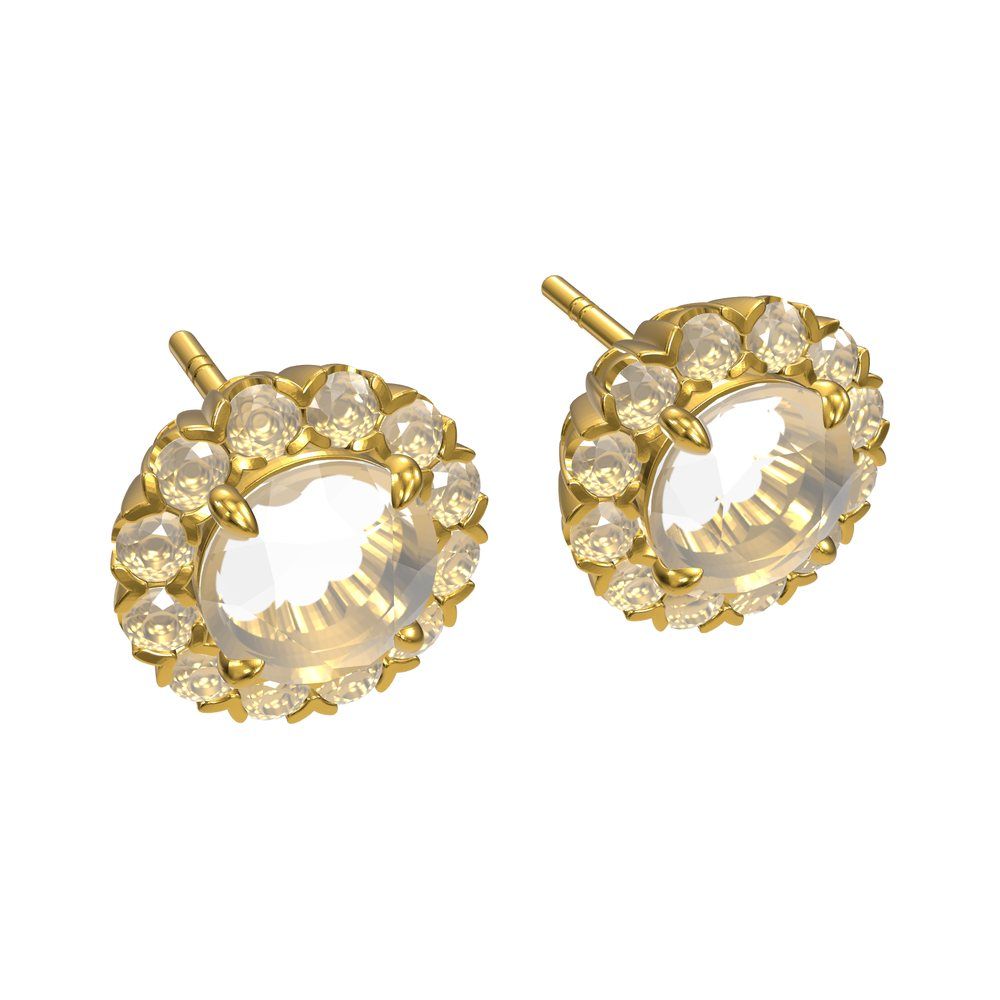
CAD model of a pair of halo stud earrings in the 3D viewerThe same stud earrings rendered as a product photo in yellow gold with diamondsCAD fileProduct photo

Halo Stud Earrings

Yellow gold
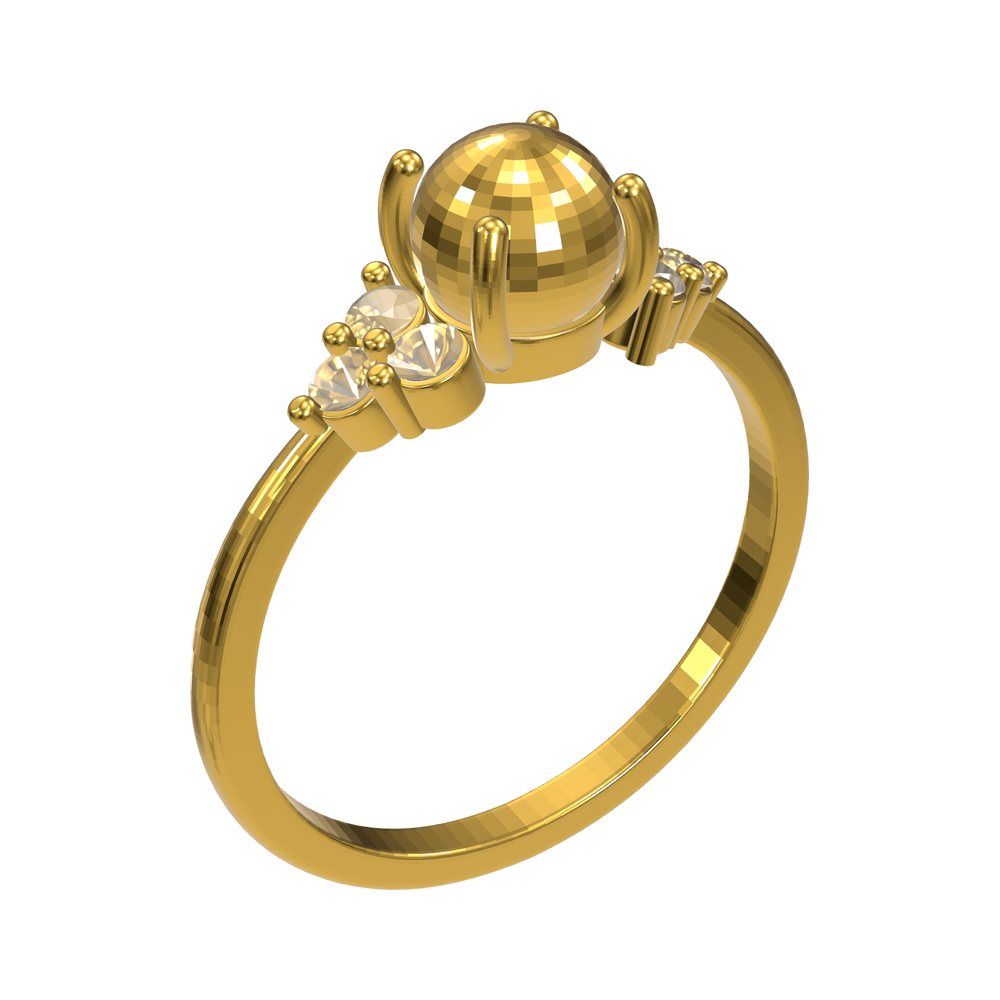
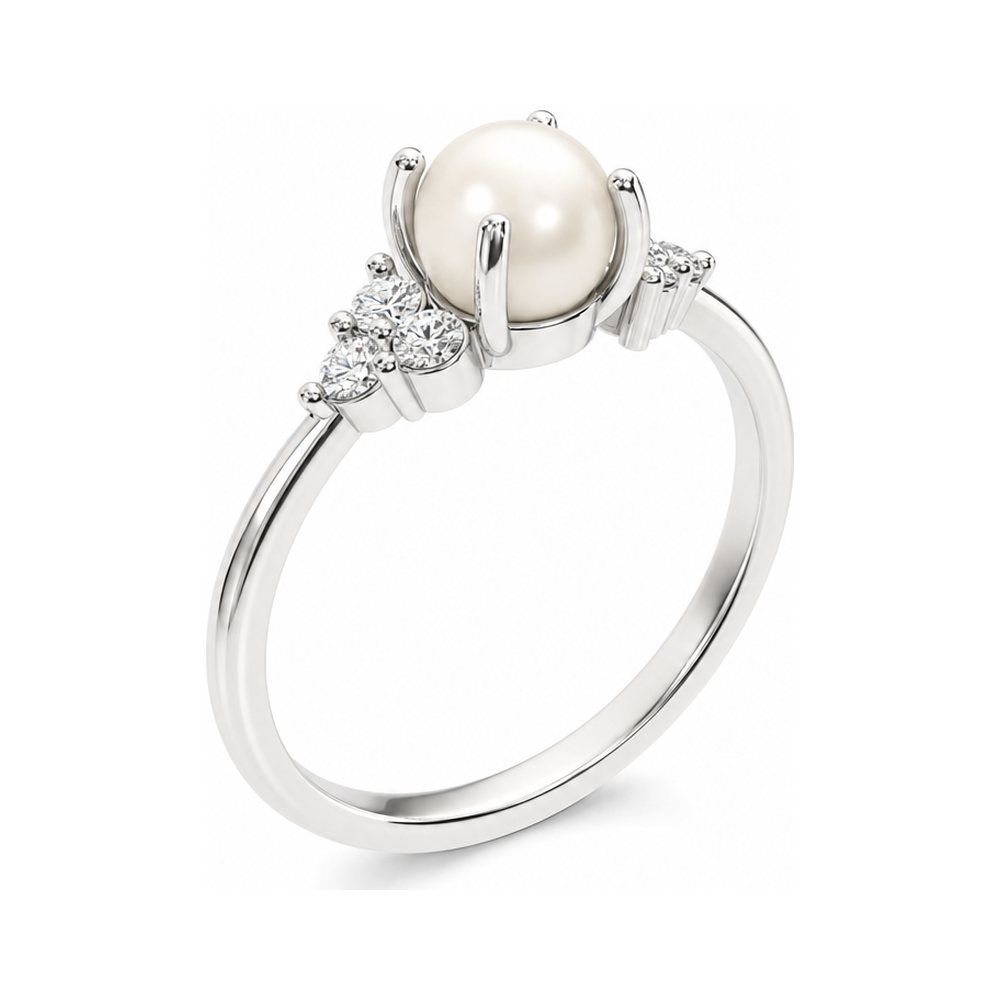
CAD model of a ring with a round centre stone and three small side stones on each shoulderThe same ring rendered as a product photo in white gold with a pearl centre and diamond side stonesCAD fileProduct photo

Pearl Ring with Side Stones

White gold
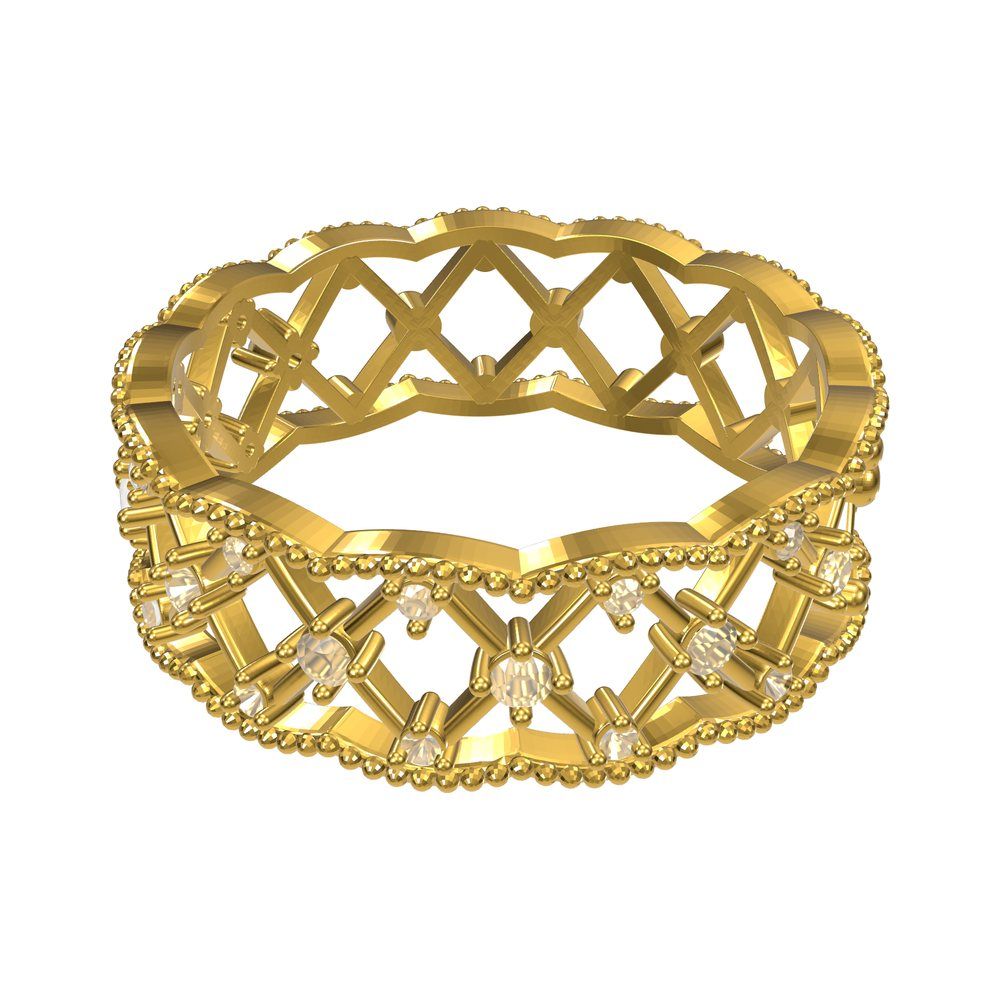
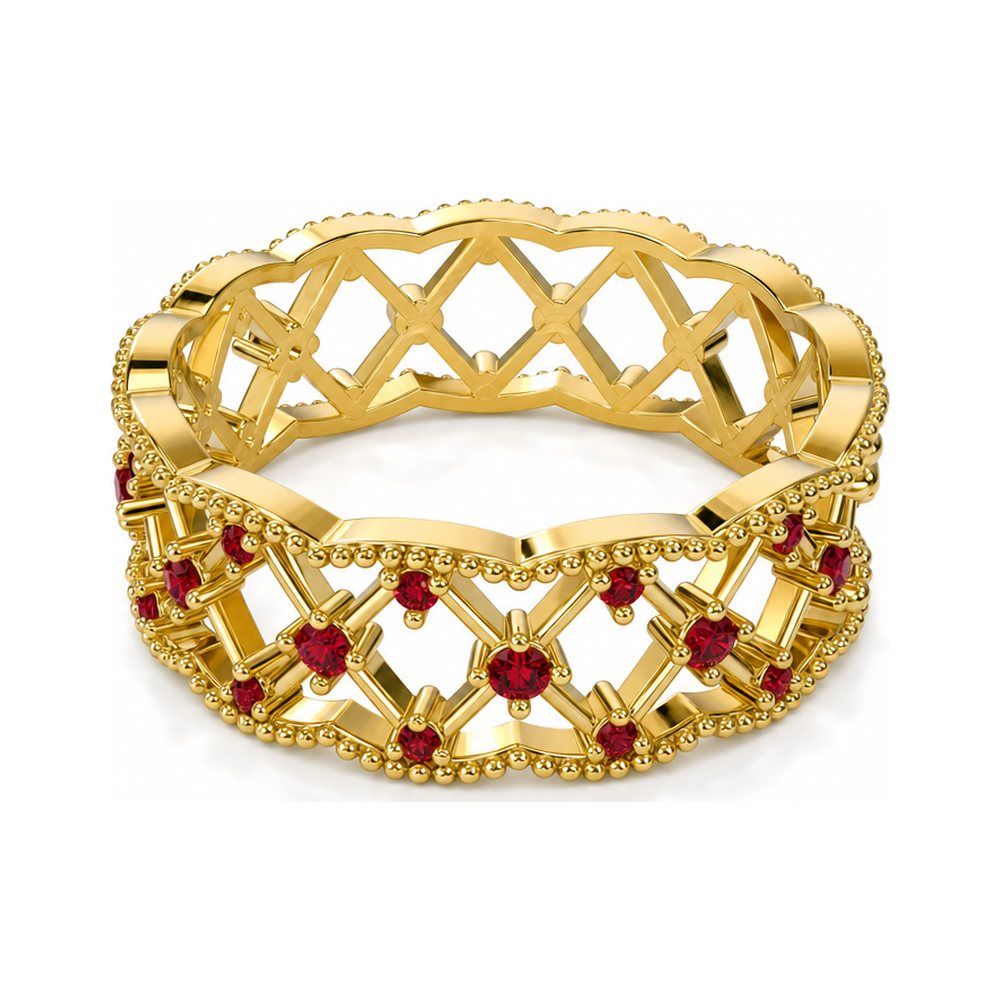
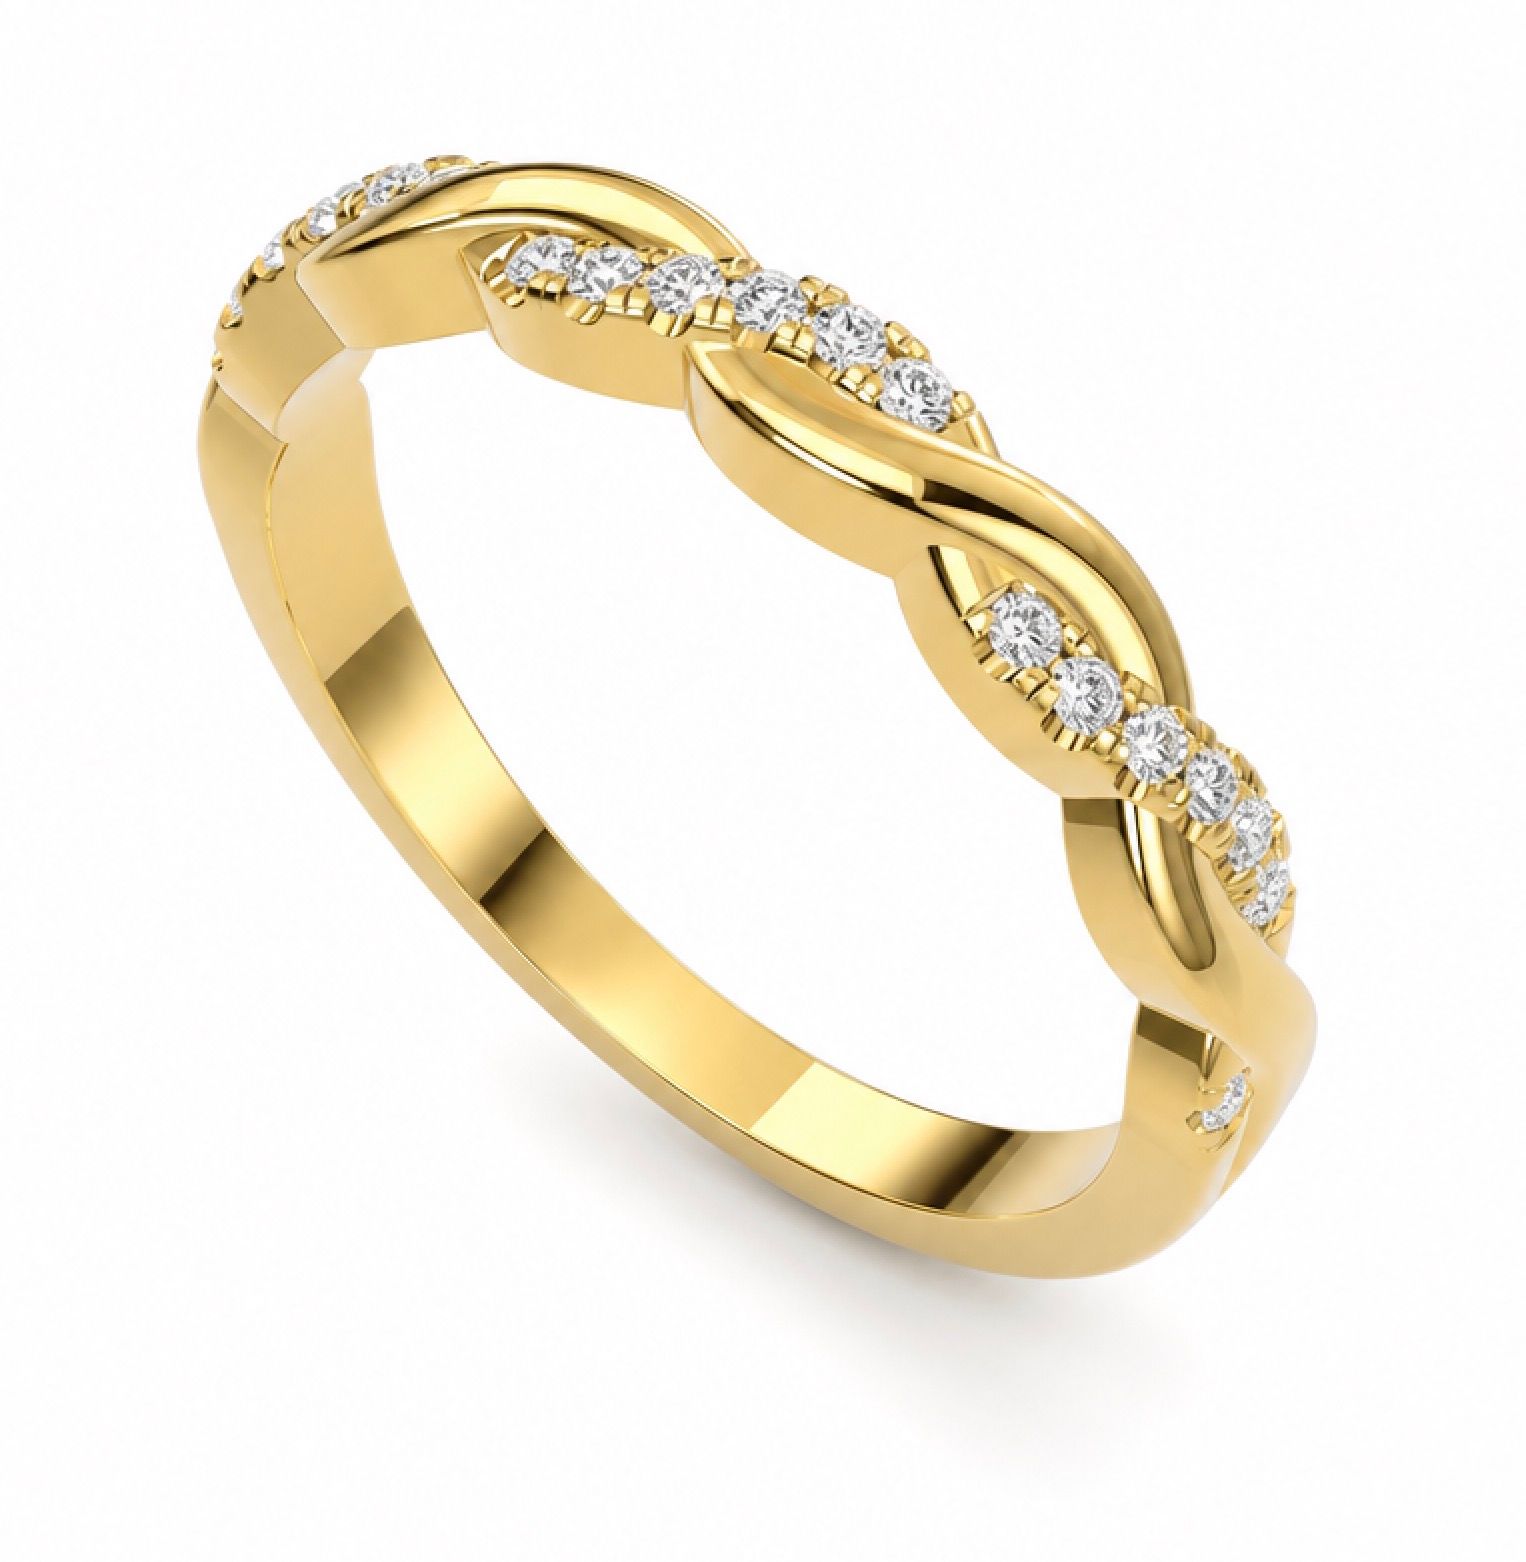
CAD model of a wide openwork lattice band set with small stonesThe same band rendered as a product photo in yellow gold with rubies and diamondsCAD fileProduct photo

Lattice Band, Rubies and Diamonds

Yellow gold
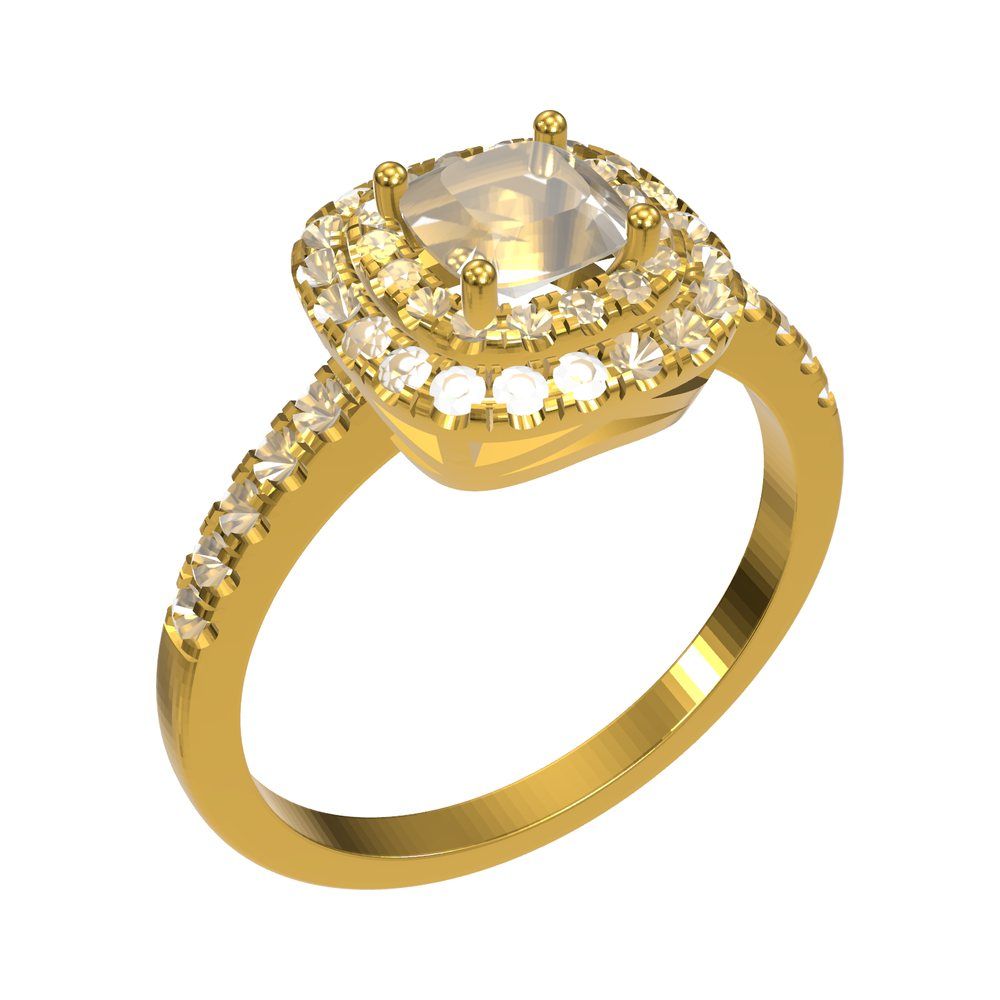
CAD model of a halo ring with a round centre stone and pavé shoulders, as it looks in the 3D viewerThe same ring rendered as a product photo in rose gold with a round diamond centre and diamond haloCAD fileProduct photo

Cushion Halo Ring

Rose gold

The Other Direction

From One Photo to a 3D Model

The second tab reverses the flow. Upload one photo of a real piece and a 3D model comes back, usually in one to three minutes. Spin it, download it, or send it straight back through the renderer to shoot it from angles you never actually captured.

  • One photo in. A single clear photo of the real piece is all the tool needs.
  • Three quality tiers. Standard (512 px model detail) at 60 credits, High (1024 px) at 75, Ultra (1536 px) at 90.
  • Ready in one to three minutes. Then it sits in your CAD library like any other file.
  • Download as STL, OBJ, GLB or 3DM. 3D print it, or hand it to a modeller as a reference.
  • Re-render from new angles. A sold or shipped piece can still be photographed from any side.
  • In the app for now. Image to CAD lives in the second tab of the 3D CAD Visualizer. It is not in the API yet.

One thing worth being straight about. What comes back is a mesh: a detailed, textured 3D surface you can view, render and 3D print. It is not an editable parametric CAD file, and it carries no real-world dimensions, so set the size yourself before printing or casting.

Treat it as a highly accurate visual model and a reference for a CAD modeller, not a replacement for CAD. Nobody can reliably rebuild true CAD from a single photograph today, and we would rather say that now than have you find out later.

The Image to CAD tab: one photo of a sapphire ring on the right, the 3D model built from it in the viewer on the left. Download it as STL, OBJ, GLB or 3DM, or send it straight back into CAD to Render with one button.

Free Tools Inside

A Free 3D Viewer and Format Converter in Your Browser

Everything before the render button is free, and some of it is useful on its own.

  • Open and orbit any supported file. Right mouse button rotates, scroll zooms, up to 60 MB per file.
  • See what is inside. Part count, number of stones and dimensions in millimetres, read straight from the file.
  • Six prepared views plus your own snapshots. Download any snapshot as a PNG for a line sheet or a modeller's brief.
  • Convert between formats at no charge. Download anything you open as STL, OBJ, GLB or 3DM. Open a JewelCAD file and hand a colleague a Rhino file, or send an STL to your printer.
  • A CAD library that follows you. Every file you open is saved automatically, so you can pick it up again on any device.
  • One note on STL. Colours and textures do not travel inside STL. That is a limit of the format, not of the tool.
A pair of stud earrings loaded from a 3DM file: 1 part, 26 stones, 23 × 15 × 10 mm. Convert & download and Download PNG are both free.

Why It Matters

What Rendering From CAD Unlocks for a Jewelry Business

Jewelry brands photograph what they have already manufactured. That is an expensive way to find out what sells. Rendering from CAD changes the order of operations: you photograph what you designed, and manufacture what sells.

A catalog before manufacturing

Photograph made-to-order designs that exist only as files. Render an entire collection straight out of your CAD library in an afternoon, list it, and cast the pieces people actually order.

Variants without samples

A retailer asking whether the halo comes in rose gold used to mean a conversation and a sample. Now it means one render, from the same file, in the metal they asked about.

Photos of pieces you never shot

Sold out, shipped, returned to the client, sitting in a vault on another continent. If the CAD file exists, the photo exists.

The Difference

Why Render From CAD Instead of Shooting a Sample

A physical sample means casting, setting and a photoshoot before anyone sees the piece. A rendering studio means a specialist and a queue. The 3D CAD Visualizer needs only the file you already have.

NeuroViz 3D CAD Visualizer Manufacture a Sample, Then Shoot Traditional CAD Rendering
Physical sample needed ✓ No, the file is enough ✗ Cast, set and polished first ✓ No
Time to the first photo Minutes Weeks Hours to days per view
Change the metal ✓ One setting, same file ✗ A new sample Re-render with new materials
Photos from several angles Up to 4 per generation One shoot per angle One render per view
Skills required None Photographer and retoucher 3D rendering specialist
Cost per image From 5 credits (~$0.10), about $0.40 typical Casting, setting and a shoot Studio or freelancer fees per render
Convert between 3D formats ✓ Free: STL, OBJ, GLB, 3DM Not applicable Separate software

Pricing

3D CAD Visualizer Pricing: Renders From 5 Credits

Pay only for what you render. Opening files, orbiting, snapshots and format conversion are free. Credits are valid for 12 months and work across every NeuroViz tool, with no subscription required.

Credit Cost per Render

RenderCreditsCost
Precision, 1K low5$0.10
Precision, 1K medium (default)20$0.40
Precision, 4K high~85~$1.70
Vivid25$0.50
Image to CAD, Standard60$1.20
Image to CAD, High75$1.50
Image to CAD, Ultra90$1.80

Dollar figures at volume pricing ($0.02 per credit). A solid-colour or transparent background adds 3 credits. Only renders that succeed are charged.

Pay-as-you-go Credits

AmountCredits~Renders
Free trial804
$1025012
$501,50075
$2008,000400
Studio plan, monthly10,000500
Pro Membership$29/moRetry at ⅓ cost + API

Renders counted at the default 20 credits. The Studio plan is $200 a month and includes Pro Membership. Pro members regenerate a render they were not happy with at roughly a third of the price.

FAQ

Frequently Asked Questions

Which CAD file formats does the 3D CAD Visualizer open?
JewelCAD, Rhino 3DM, STL, OBJ, GLB and other common 3D formats, up to 60 MB per file. Anything you open can also be converted and downloaded as STL, OBJ, GLB or 3DM at no charge.
Does it cost credits to open a file or set up views?
No. Loading a model, orbiting it, taking snapshots and converting formats are all free. Credits are charged only when you render, and only for renders that succeed.
How many photos do I get from one generation?
Up to four. You select up to four views in the viewer and each one becomes its own variation, so a single run returns four finished photos from four different angles.
Can I change the metal colour without editing the CAD file?
Yes. Metal colour and up to three gemstone types are set at render time and override whatever the AI would infer from the geometry. The same file renders as yellow, white or rose gold with no change to the model.
Can I choose the gemstone cut?
Yes. The Gemstone Cut Selector on the render panel lets you pick the stone and its cut for each of up to three gemstone slots, from a library of more than a hundred cuts, or upload your own cut image in Settings. Most CAD files carry only a placeholder shape where the stone sits, so this is what gives the render real facets. The same selector is available in the Precision, Rescue and Vivid retouchers for photos of real pieces.
What is the difference between the Precision and Vivid render models?
Precision stays true to your model: every stone, prong and proportion exactly as you built it, on a clean studio background, which is what catalog and product-page photos need. Vivid pushes colour, contrast and lighting for ads, social and hero images. Precision starts at 5 credits and typically runs about 20; Vivid is 25.
How much does a jewelry CAD render cost?
Precision runs from 5 credits at 1K low quality to 20 credits at the default 1K medium setting, and reaches about 85 credits at 4K high quality. Vivid starts at 25 credits. At volume pricing a typical Precision render is around $0.40. Every new account gets 80 free credits with no credit card required.
Is the 3D model I get back from a photo a real CAD file?
No. It is a mesh: a detailed, textured 3D surface you can view, render and 3D print, with no real-world dimensions attached. Set the size yourself before printing or casting, and treat it as a reference for a CAD modeller rather than a replacement for CAD. Image to CAD comes in three quality tiers: Standard at 60 credits, High at 75 and Ultra at 90.
Can I use the renders commercially, and is there an API?
Yes. Every render you download carries a full commercial license for your store, marketplace listings, social media, ads and printed catalogs. Both render models, Precision and Vivid, are available through the NeuroViz API . Image to CAD is available in the app only for now.
Where do I find the 3D CAD Visualizer in NeuroViz?
In the app sidebar under Jewelry Suite: 3D CAD Visualizer. It is one screen with two tabs, CAD to Render and Image to CAD. In AI Studio it sits in the 3D CAD category.

Continue Your Workflow

From CAD Render to a Full Jewelry Photo Workflow

AI Jewelry Virtual Try-On

Put a rendered piece on a model's hand, ear or neck before it has been manufactured.

Try-On

Creative Jewelry Photography

Turn a render into an editorial scene: backgrounds, props, mood and lighting on demand.

Create Scenes

AI Jewelry Retoucher

For the pieces you have already photographed: studio-quality retouching from $0.10 per image.

Retouch Photos

AI Jewelry Video Creator

Turn a rendered product photo into a 360° rotation or a Reels-ready scene video.

Create Videos

Walkthrough: CAD File to Product Photos

Every step with screenshots, from opening a Rhino file to the finished rose gold render.

Read the Guide

NeuroViz Pricing

Pay-as-you-go credits from $10. Pro Membership at $29/mo. Free trial — 80 credits.

See All Plans

Photograph What You Designed. Manufacture What Sells.

If you work from CAD, there is a catalog sitting in your file library that has never been photographed. Open one file, pick four angles, and see it finished in the metal you want, before a gram of gold is cast.

No credit card. No subscription. Opening files is free, renders from 5 credits.