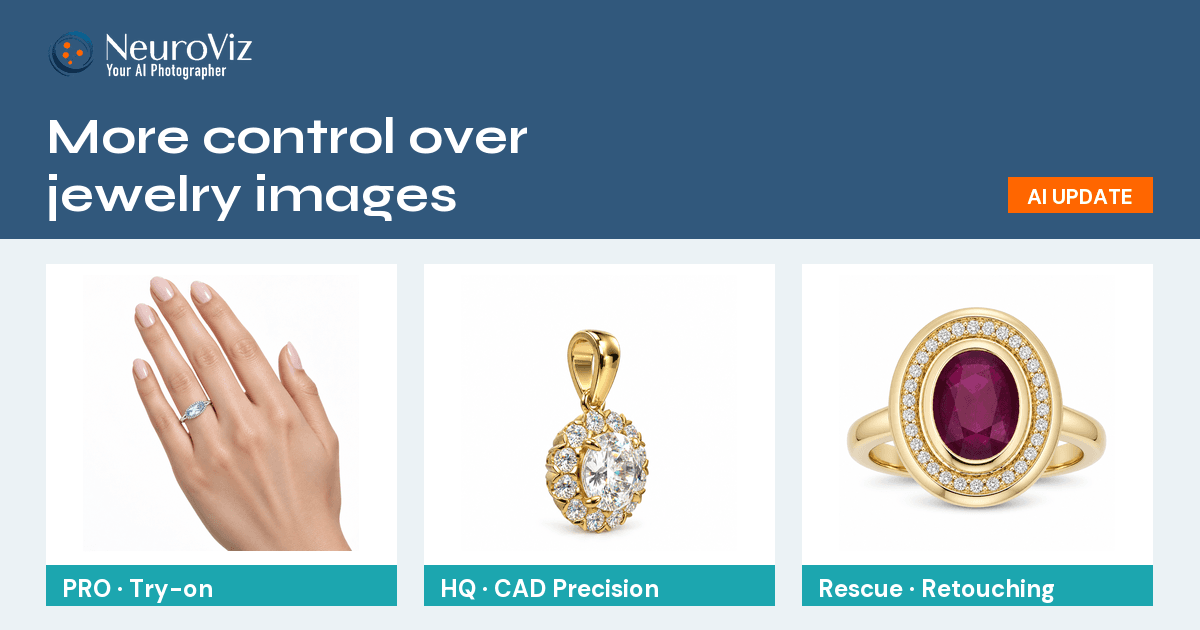
Our upgraded NeuroViz AI models, tuned for jewelry workflows, bring new output controls to PRO try-ons, HQ in CAD Precision and the current Jewelry Retoucher Rescue. Choose your image size and shape, select one of five quality settings, and see the credit cost before generating.
For jewelry brands, designers, photographers and catalog teams, that means you can explore an idea from 5 credits per image, start everyday work at 1K High for 20 credits, or choose a larger output for a final image. Here is how the new controls work and where to find them.
Where do I select the upgraded model?
| App or workflow | What to select |
|---|---|
| Jewelry virtual try-on | Open the relevant try-on app and select PRO under AI model. |
| CAD jewelry rendering | In 3D CAD Visualizer, choose Precision, then HQ in its render settings. |
| Jewelry photo retouching | Open the current Jewelry Retoucher Rescue. It uses the upgraded model automatically. |
PRO in try-on: start with Model & output
In a try-on app such as Rings Try On, open Model & output. The AI model selector shows SD, PRO and ULTRA. Choose PRO to use the upgraded option and its new output controls. The initial app selection remains SD.
This PRO upgrade covers the ring, bracelet, earring, necklace, watch and jewelry-set try-on family, including the relevant Studio variants, plus Fashion Model Studio and Product + Model Studio. SD and ULTRA remain separate options; this release does not change them.
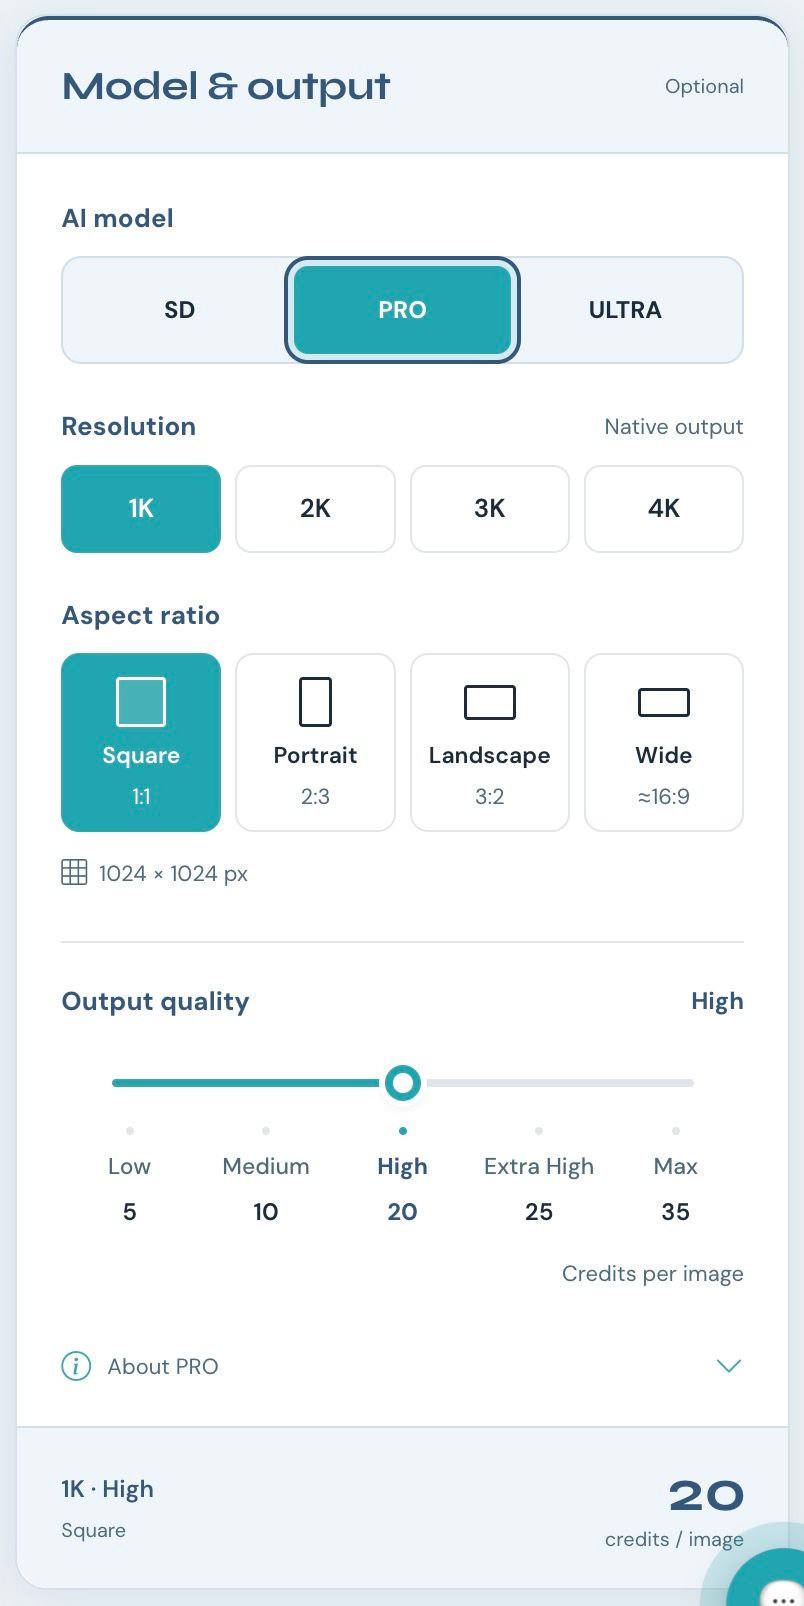
The settings shown are PRO, 1K, Square 1:1 and High: 1024 × 1024 pixels at 20 standard credits per image.
HQ in CAD Precision: choose the render option first
For a jewelry design, open 3D CAD Visualizer, load your CAD file or use Upload Snapshot instead, and select Precision. Choose HQ in its render settings to access the upgraded model and five quality levels.
HQ is the model option here. High is an output-quality setting inside that option. You can therefore use HQ with High quality, or select another quality level while staying in HQ. CAD Precision’s HD option and the separate CAD Vivid mode are outside this upgrade.
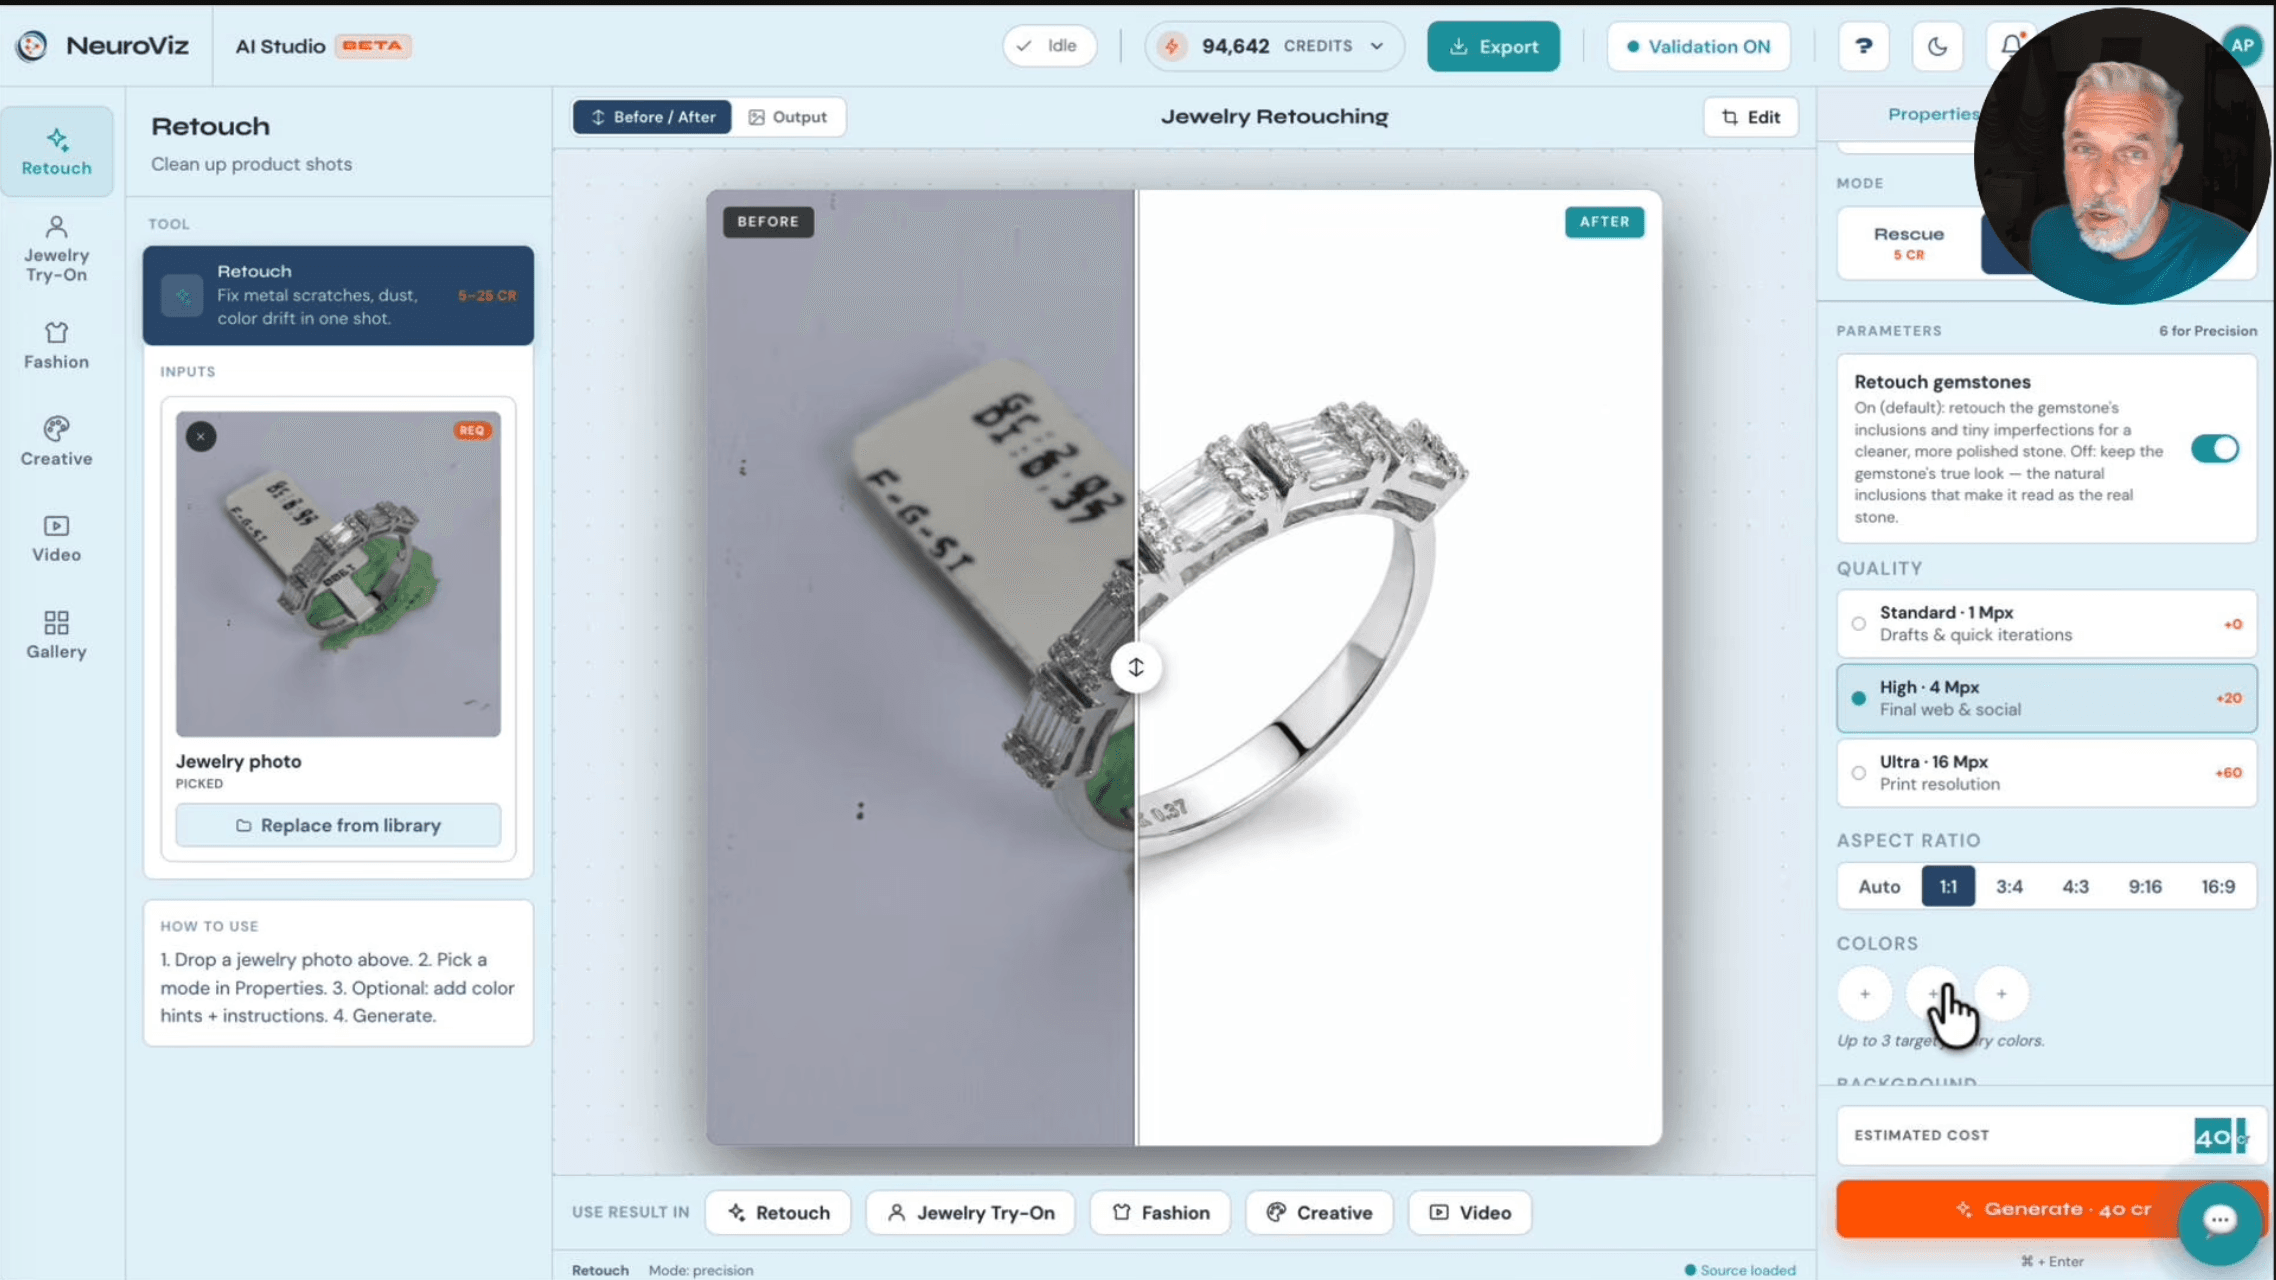
Rescue: go straight to Output settings
In the current Jewelry Retoucher Rescue, the model upgrade is automatic. There is no SD/PRO/ULTRA selector to change. Use the Output settings card to choose resolution, aspect ratio and output quality.
The default is 1K, Square and High, quoted at 20 standard credits per image before optional processing or account-specific pricing. Rescue Legacy and the separate Precision Retoucher PRO option are not part of this replacement.
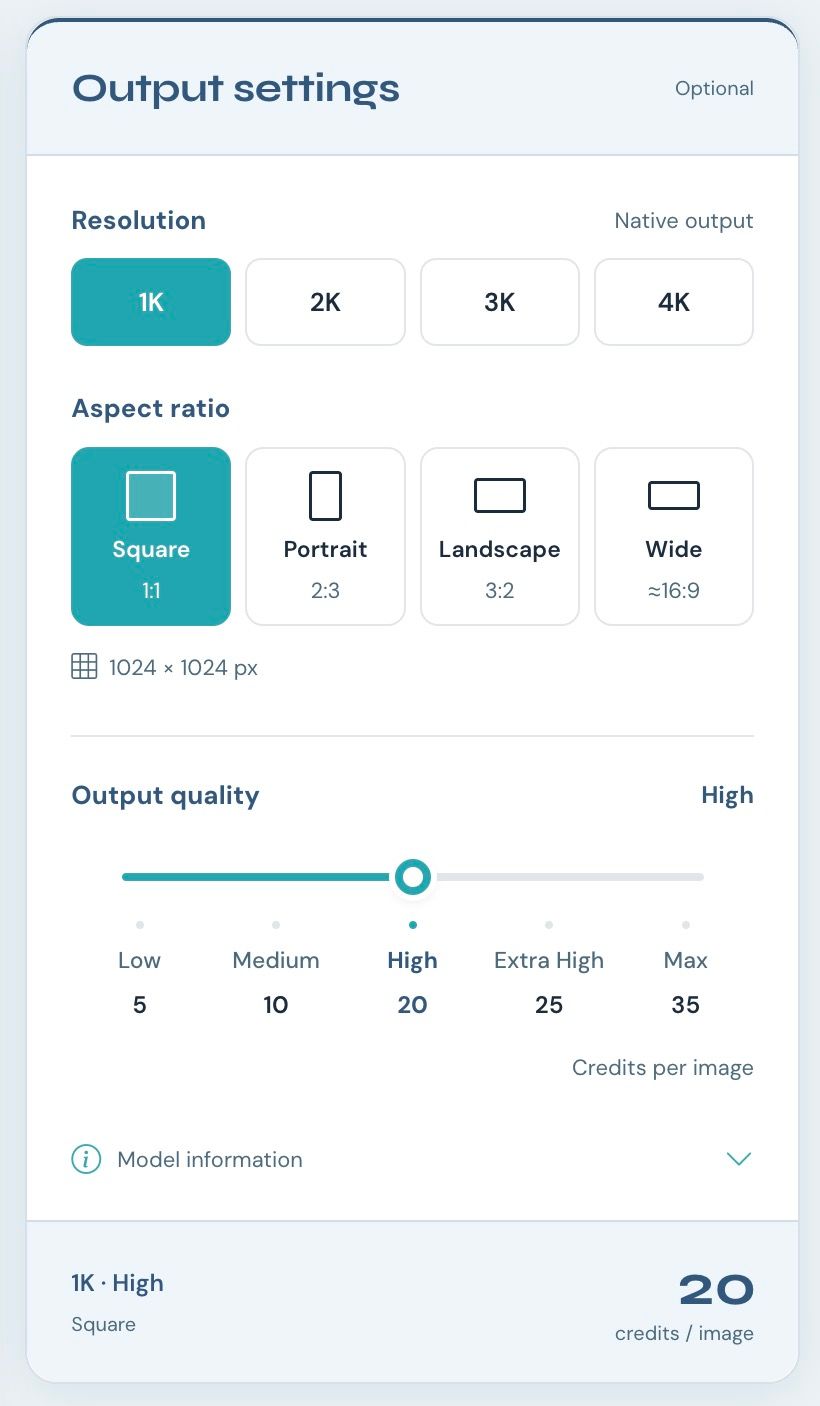
Rescue’s Output settings card shows the same size, shape and quality choices without an AI model selector.
Resolution and aspect ratio: choose the size and shape
Resolution sets the output’s pixel dimensions. Aspect ratio sets its shape. Select a resolution tier first, then choose one of the shapes available at that tier. The exact dimensions appear below the aspect-ratio buttons.
- Square: a useful starting point for product grids and square layouts.
- Portrait: a vertical composition, such as a taller on-model image.
- Landscape: a horizontal composition for a wider placement.
- Wide: an approximately 16:9 option available at 1K.
Not every shape is available at every resolution. Portrait and landscape also change proportions between tiers: at 1K they are 2:3 and 3:2; at 2K and 4K they are 9:16 and 16:9.
| Tier | Shape | Width × height, pixels |
|---|---|---|
| 1K | Square | 1024 × 1024 |
| 1K | Portrait | 1024 × 1536 |
| 1K | Landscape | 1536 × 1024 |
| 1K | Wide | 1920 × 1088 |
| 2K | Square | 2048 × 2048 |
| 2K | Portrait | 1440 × 2560 |
| 2K | Landscape | 2560 × 1440 |
| 3K | Square | 2880 × 2880 |
| 4K | Portrait | 2160 × 3840 |
| 4K | Landscape | 3840 × 2160 |
Native output up to 4K is available in portrait or landscape, with a 3840-pixel long edge. The largest square output is 2880 × 2880. These settings do not offer a 4096 × 4096 square image.
Output quality: choose how much rendering effort to use
The Output quality control has five positions. The number beneath each one shows its standard credit cost at the selected resolution.
- Low: start here when exploring a composition at a lower cost.
- Medium: an intermediate setting between Low and High.
- High: the default starting point for everyday work.
- Extra High: more rendering effort to compare on a demanding final image.
- Max: the highest available rendering-effort setting, with the highest credit cost at that resolution.
Quality and resolution do different jobs. Increasing quality does not increase the pixel dimensions, and selecting 4K does not automatically select Max. For example, 4K High and 4K Max have the same available dimensions but different quality settings and credit costs.
Output quality is also separate from JPEG compression quality. If you export a JPEG, its compression setting controls how the file is encoded; it does not select the AI quality level. Higher output quality is an option to evaluate, not a guarantee that every result will be better.
How many credits do the new settings use?
These are the standard credits per output image for the upgraded PRO, HQ and Rescue options, before optional processing or account-specific pricing.
| Quality | 1K | 2K | 3K | 4K |
|---|---|---|---|---|
| Low | 5 | 30 | 40 | 45 |
| Medium | 10 | 35 | 45 | 50 |
| High | 20 | 40 | 60 | 60 |
| Extra High | 25 | 50 | 70 | 70 |
| Max | 35 | 60 | 85 | 85 |
In this table, 3K is square; 4K is portrait or landscape. Each variation is another image. Four images at 1K High therefore use 80 standard credits before extras.
The summary at the bottom of the card shows your current resolution, quality, shape and credits per image. Check the final generation quote as well if you add optional processing or multiple variations.
For notes on the selected model, expand About PRO or Model information at the bottom of the card.
A simple starting point for your next image
- Choose the app and model. Select PRO for try-on, HQ in CAD Precision, or open the current Rescue app.
- Choose the composition. Pick the resolution and aspect ratio for the image you need.
- Start with High. At 1K, that is 20 standard credits per image. Use 1K Low at 5 credits when exploring an idea.
- Increase size when you need more pixels. Try 4K High at 60 credits for a larger portrait or landscape image, or compare 4K Max at 85 credits for a demanding final image.
- Check the quote, then generate. Review the result against your jewelry reference before using it in a catalog or campaign.
For more on the individual workflows, see the jewelry virtual try-on guide, the CAD jewelry rendering guide and the jewelry retouching tools.
Frequently asked questions
Which NeuroViz options have the upgraded controls?
The upgraded controls are available with PRO in the affected try-on family, HQ in CAD Precision, and the current Jewelry Retoucher Rescue. Rescue uses the upgraded model automatically. SD, ULTRA, CAD HD, CAD Vivid, Rescue Legacy and Precision Retoucher PRO are outside this replacement.
Is PRO or HQ the same as High output quality?
No. PRO and HQ select the model option in their respective apps. Low, Medium, High, Extra High and Max select output quality within the upgraded option. HQ can be used with High quality, for example.
What do the default upgraded settings cost?
The default is 1K square at High quality: 1024 × 1024 pixels for 20 standard credits per image before extras or account-specific pricing. In try-on apps, first select PRO because the initial model selection remains SD.
Can I choose square at 4K?
No. The upgraded 4K options are portrait at 2160 × 3840 pixels and landscape at 3840 × 2160 pixels. For square output, the maximum is 3K at 2880 × 2880 pixels.
Does Max change the resolution?
No. Max changes the output-quality setting, not the pixel dimensions. Choose resolution separately. At 4K, High costs 60 standard credits per image and Max costs 85, before extras or account-specific pricing.
Are these prices per image or per batch?
They are per output image. Each variation or additional image adds to the total. Optional processing and account-specific pricing can also change your quote, so check the amount shown before generating.
Open NeuroViz and try the new controls on your next jewelry image.