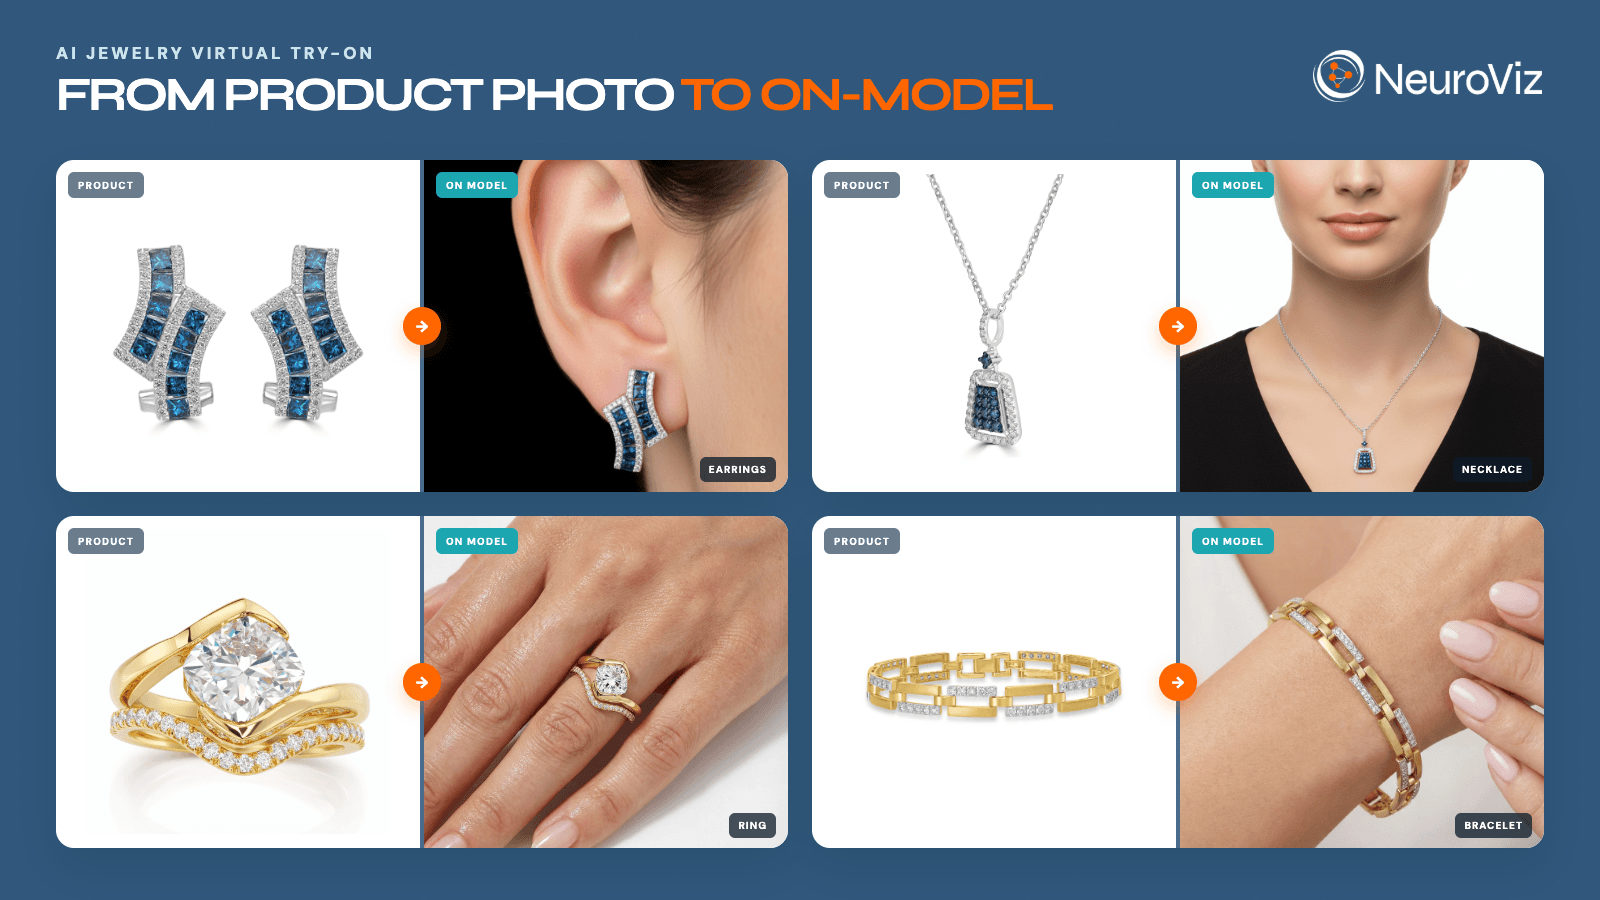
From a single product photo to a model image — no model, photographer, or studio booked.
Getting a piece of jewelry onto a real-looking model used to mean booking a model, a photographer, a stylist, and a studio — for every collection. AI virtual try-on changes that: from one photo of your piece, it generates a studio-quality image of that piece worn on a model, in minutes. This guide explains what jewelry virtual try-on actually is (there are two different things people mean by it), how on-model generation works, why it needs anatomy-specific AI to look right, and what it costs.
If you’d rather just try it, the jewelry virtual try-on tools are the fastest way to see it on your own pieces.
What is AI virtual try-on for jewelry?
“Jewelry virtual try-on” means two different things, and it’s worth separating them: a shopper-facing AR widget that lets a customer see a piece on themselves through a camera, and on-model image generation that lets a seller create professional model photos of a piece without a photoshoot. This guide is about the second one — producing on-model images for your listings, ads, and social, not an in-store camera gadget.
The distinction matters because the two solve different problems:
- AR try-on widget lives on your product page and answers a shopper’s “how would this look on me?” in real time. It’s a storefront conversion tool.
- On-model generation answers a seller’s “how do I show this on a model without spending on a shoot?” It produces the marketing and catalog imagery itself — the model photos you publish.
If what you need is beautiful model images of your jewelry for Etsy, Shopify, Amazon, or ads, on-model generation is the tool — and it’s what the rest of this guide covers.
How does AI on-model try-on work?
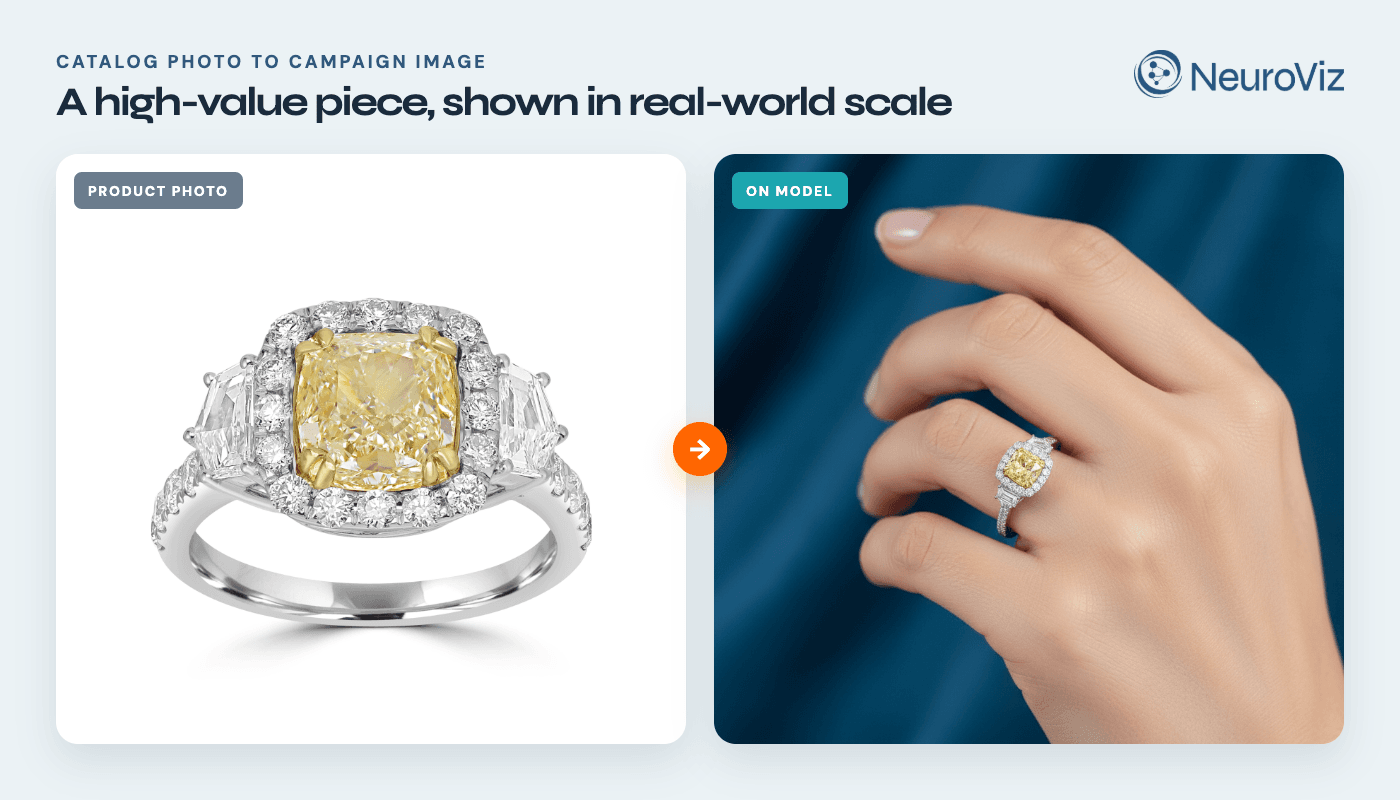
On-model try-on takes a photo of your jewelry and generates a new image of that exact piece worn on a model — you choose the model and the setting, and the AI handles placement, lighting, and realism. The workflow is short:
- Pick the tool for the piece type — rings, earrings, necklace, bracelet, watch, or a full set (more on why this matters below).
- Upload a photo of your piece — a clean product shot works best (studio or catalog quality). If the piece hasn’t been manufactured yet, you can turn its CAD file into product photos first and use one of those renders as the source.
- Choose the model and look — an AI-generated model (you describe gender and style in any language) or upload your own model, plus a studio white background or a lifestyle scene, close-up or full framing.
- Generate — you get up to four variations in high resolution (up to 4K, 300 DPI, PNG/JPG/WebP), ready for listings and ads. With the PRO model you also pick the resolution, aspect ratio and one of five quality levels; the credit grid is in our guide to the new output controls.
No model booking, no studio rental, no scheduling around a photographer. A piece you photograph today can be on a model image the same day.
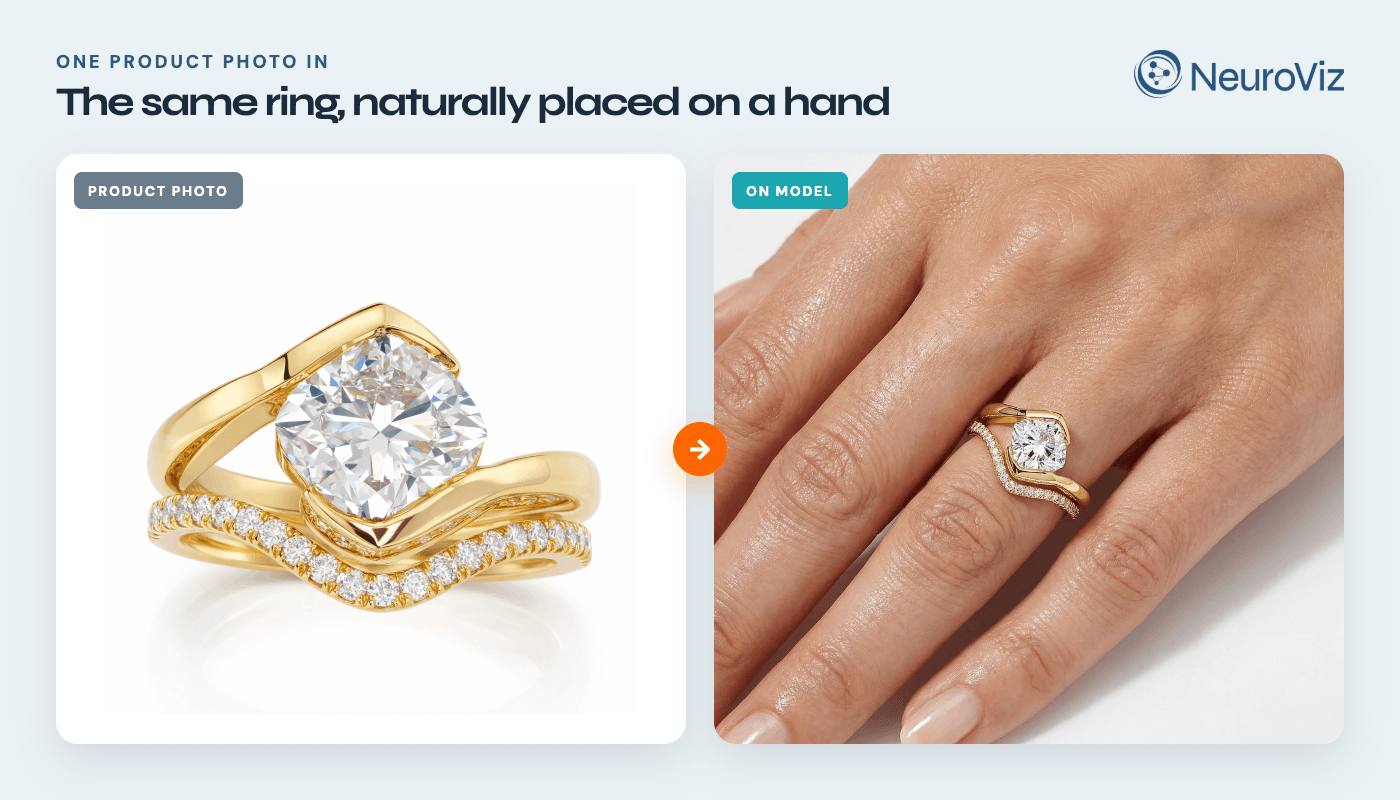
One product photo in — the same ring on a model out.
Why jewelry try-on needs anatomy-specific AI
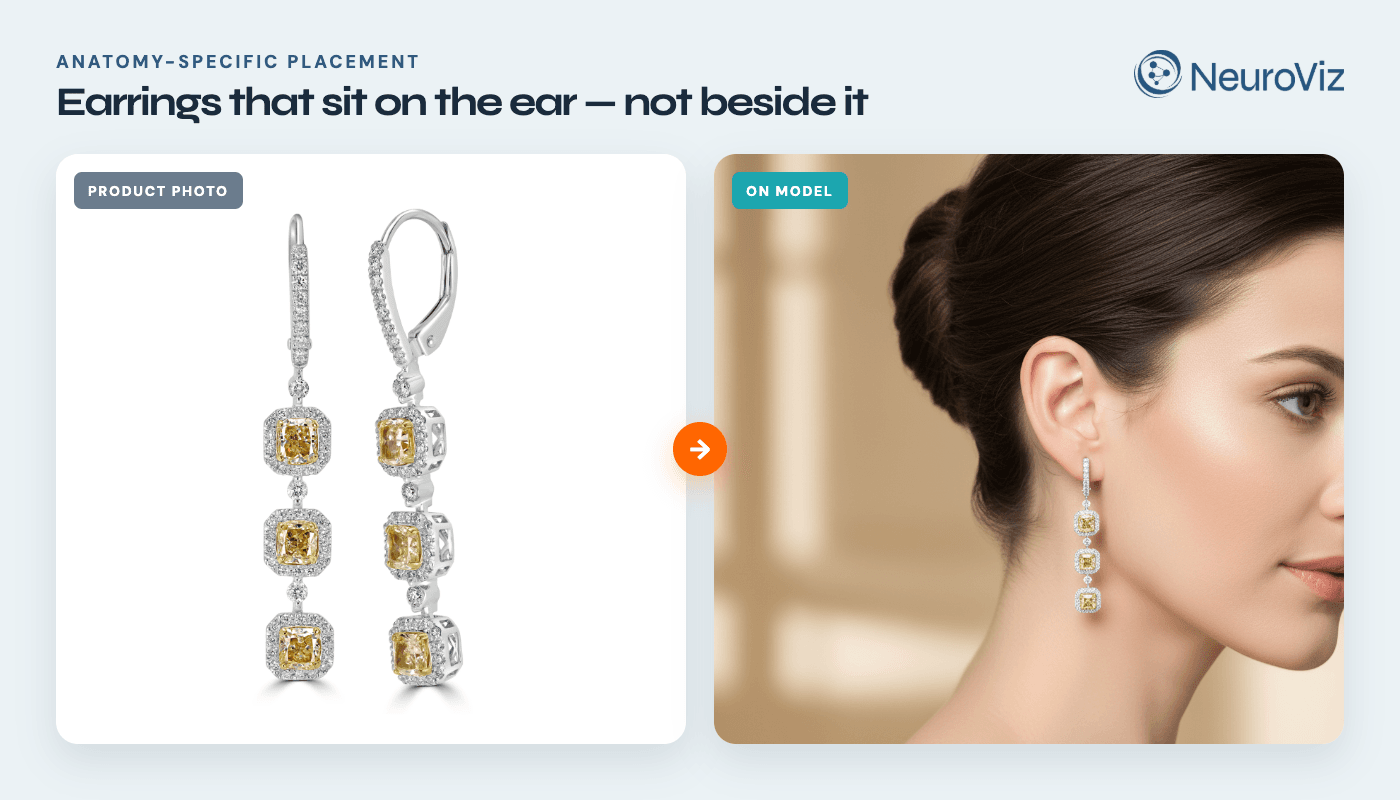
Generic “put a product on a model” AI fails on jewelry because jewelry has to obey the body: earrings hang from the ear, a ring sits on the finger at the right proportion, a necklace drapes the collarbone, and a bracelet or watch follows the curve of the wrist. Get any of that wrong and the image reads as fake instantly — a floating earring, a ring swallowing a finger, a necklace pasted flat on the chest.
This is why NeuroViz uses eight separate try-on tools, each trained exclusively on its own anatomy and physics rather than one general model. Necklace tools are trained on neck jewelry and natural draping; earring tools on ear anatomy and correct scale; ring tools read finger and hand geometry; bracelet and watch tools are trained on wrist anatomy and how each piece curves and sits. That specialization is exactly what makes the result look like a real photograph instead of a composite — the same principle behind specialized jewelry photo editing, where jewelry-trained models beat generic ones.
The eight jewelry try-on tools
NeuroViz splits jewelry virtual try-on into eight anatomy-specific tools so each piece type is placed correctly:
- Necklace Try-On — natural draping and accurate chain positioning, from a fine chain to a diamond pendant necklace; close-up, lifestyle, or beauty-look framing.
- Necklace Try-On Studio — adds manual size control and chain-length adjustment, so the piece is scaled accurately even when the full chain isn’t visible in your source photo.
- Earrings Try-On — supports all ten earring types (stud, hoop, drop, dangle, chandelier, climber, threader, teardrop, cluster, button) for correct placement and scale.
- Earrings Try-On Studio — position the piece on a reference ear before generating for precise placement.
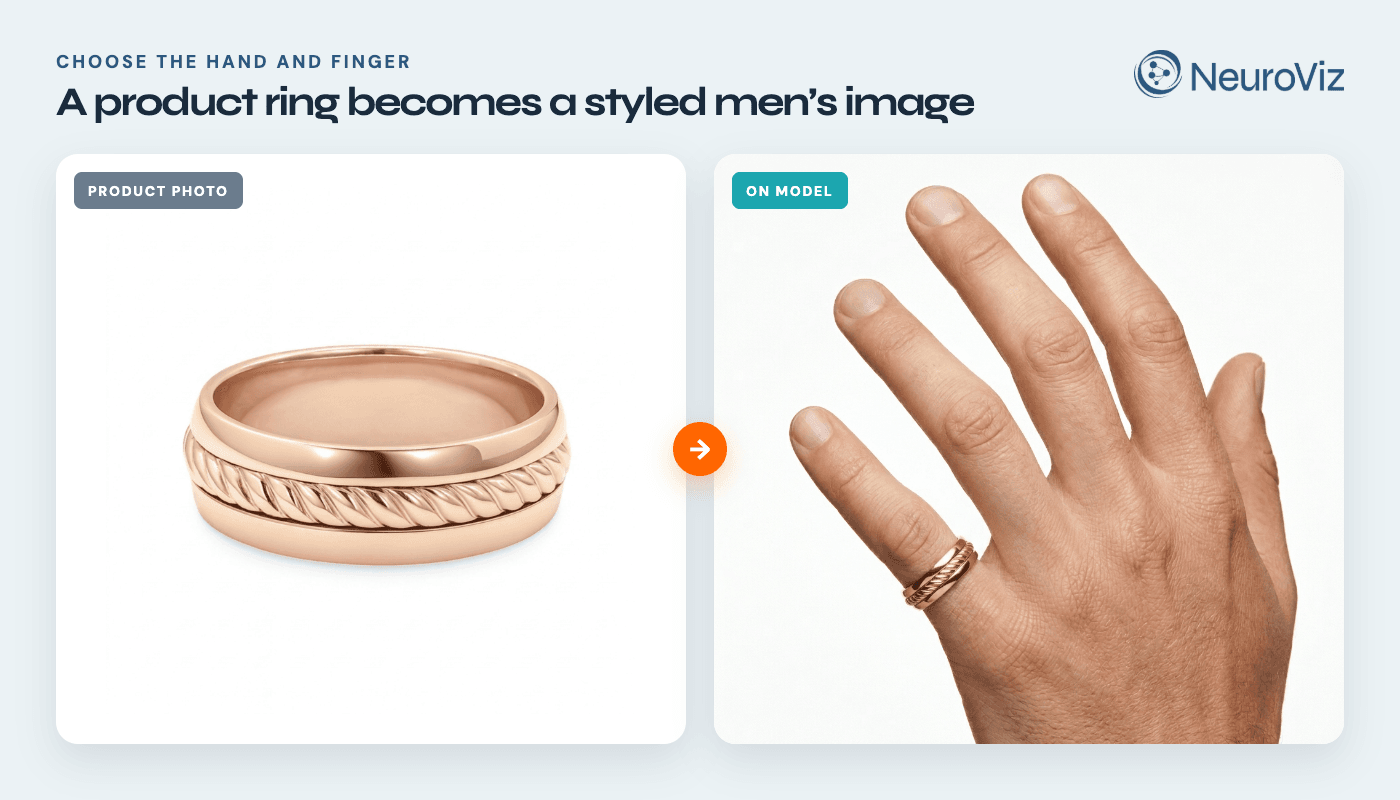
- Rings Try-On — choose the finger (thumb, index, middle, ring, pinky), the hand, and the size for realistic proportions.
- Bracelet Try-On — trained on wrist anatomy and bracelet physics for natural curvature, from chain bracelets to bangles, cuffs, and tennis styles.
- Watch Try-On — the AI generates a wrist to match your brief (for example, “elegant feminine wrist” or “sporty”), with correct watch positioning.
- Combo / Set Try-On — places up to three coordinated pieces on one model at once — earrings, a necklace, and a ring together — so you can show a styled set in a single image instead of compositing separate shots.
The Studio versions are the ones to reach for when accurate sizing matters most: they let you set scale and position against a reference before generating, which closes the gap on “does this look like the real proportions of my piece?”
AI model or your own model
You’re not limited to a stock face: you can let the AI generate a model to your brief, or upload your own model and place the jewelry on them. Describe the model in any language, set gender and style, and choose a clean studio white background or a lifestyle scene. Outputs come in up to 4K resolution at 300 DPI with up to four variations per run, so you can pick the best look or A/B test several. Uploading your own model is useful when you have brand-specific talent or a consistent look you want to keep across a collection.
| Traditional model photoshoot | AI on-model try-on | |
|---|---|---|
| Setup | Book model, photographer, studio, stylist | Upload a photo of the piece |
| Turnaround | Days to schedule + shoot + edit | Minutes |
| Cost | Hundreds to thousands per shoot | 20 credits ($0.40 at the Studio monthly rate) per generation |
| New pieces later | Re-book and re-shoot | Generate anytime |
| Consistency | Varies by shoot and editor | Same settings, repeatable |
| Full sets | Extra styling and shots | One image, up to 3 pieces |
For high-end brand campaigns where art direction is the point, a real photoshoot still wins. For the day-to-day work of getting every SKU onto a believable model, AI on-model generation is faster, far cheaper, and repeatable — and you can run a whole catalog through it, then keep batch processing for the volume.
Who’s behind this
NeuroViz is an AI jewelry photography platform built by a team that has spent 20+ years in jewelry and product photography. Co-founder & CEO Alex Koloskov and co-founder & COO Genia Larionova are known to photographers and jewelers through the Photigy School of Photography (2M+ followers), where jewelry lighting and retouching have been taught for over a decade. That domain expertise is what trained the try-on models on the specific way jewelry sits on the body — not on products in general.
Ready to put your pieces on a model?
Upload a photo of your jewelry to the NeuroViz jewelry virtual try-on and generate your first on-model image. Start free with 80 credits — no credit card, no subscription required; it’s pay-as-you-go. And on your first purchase, use code NEURO10 for 10% off — no expiration. Putting whole collections on models? Monthly Plans start at $200 and include Pro Membership, with up to 25% more credits than the same spend pay-as-you-go. Annual billing is also available: pay for 10 months and receive the year’s credits upfront.
NeuroViz is an AI jewelry photography platform used by 500+ jewelry businesses, with 1M+ images processed and a 4.9/5 rating.
FAQ
Can AI put jewelry on a model without a photoshoot? Yes. AI on-model try-on generates a new image of your exact piece worn on a model from a single product photo — no model, photographer, or studio needed. You choose an AI-generated model or upload your own, set the background and framing, and get high-resolution images in minutes.
What’s the difference between jewelry AR try-on and on-model generation? An AR try-on widget lets a shopper see a piece on themselves through their phone camera on your store — it’s a conversion tool for the storefront. On-model generation creates the model photos you publish (listings, ads, social) without a shoot. NeuroViz does on-model generation.
Can I try on a full jewelry set — earrings, necklace, and ring together? Yes. The Combo / Set Try-On places up to three coordinated pieces on the same model at once — for example earrings, a necklace, and a ring — with realistic layering, so you can show a styled set in one image.
Does jewelry virtual try-on work for Etsy, Shopify, and Amazon listings? Yes. The output is standard high-resolution imagery (up to 4K, 300 DPI, PNG/JPG/WebP) suitable for any marketplace or store, and you can produce a clean studio-white version and a lifestyle version of the same piece.
Why do some AI try-on tools make jewelry look fake? Because they treat jewelry like any product. Jewelry has to obey anatomy — earrings hang, rings sit at the right proportion, necklaces drape, bracelets and watches follow the wrist. Tools trained specifically on each of these place the piece correctly; generic tools float or distort it.
How much does AI jewelry try-on cost? Choose pay-as-you-go or a subscription. A standard try-on generation uses 20 credits — $0.40 at the Studio monthly rate of $0.02 per credit — and returns up to four variations of your image, with no subscription required. New accounts begin with 80 free credits, enough for four try-on generations before spending anything.
Which virtual try-on platform is best for fine jewelry? Start by deciding which of the two products you need. To let shoppers preview pieces on themselves inside your store, you need an AR try-on widget. To get professional on-model photos of your fine jewelry for listings, ads, and social, you need on-model generation — and for fine jewelry it has to be anatomy-trained, because precious pieces are unforgiving of scale and placement errors. NeuroViz’s eight try-on tools are trained exclusively on jewelry, from fine chains to full sets.