Product Photography Tutorial: Guided AI Background
In this tutorial, I’ll walk you through how to use our latest feature, the Guided Photo Generator, to create professional product images. This new tool allows you to place your product into an AI-generated background while guiding the shape and elements to perfectly fit your subject. I’ll show you how I used this tool to place a watch on a driftwood background, creating a stunning, photorealistic result.
Step 1: Upload your Product Photo
First, select the image you want to work with. In my example, I’m using a top-down shot of a watch on a white background. Don’t worry if your image isn’t high resolution—our tool works just fine with regular images. Once uploaded, we can begin building the scene.
Step 2: Define your Scene with a Prompt
Next, envision the scene you want to create. For this tutorial, I imagined the watch sitting on a piece of driftwood with dark rocks surrounding it. In the prompt section, I entered: “top-down photo, driftwood log, dark rocks.” This tells the AI what kind of scene to generate and ensures the product is integrated seamlessly.
Step 3: Use the Shape Editor
Here’s where it gets interesting—the Shape Editor lets you draw the elements of your scene. I started by drawing the driftwood where I wanted the watch to appear wrapped around it. Use a thick brush with an opacity of around 10-15% to create soft, natural shapes. Remember, the driftwood doesn’t need to be filled completely; leave some texture for shadows and lighting effects.
Step 4: Generate and Adjust
Once you’re happy with your shapes, hit “Run” and let the AI generate your background. If you want a more artistic touch, you can check the “Extra Artistic” option for enhanced lighting effects. You can always regenerate the image if the first result isn’t exactly what you envisioned.
Step 5: Fine-Tune Your Creation
In my case, I wasn’t satisfied with the first version of the driftwood, so I went back into the Shape Editor, made the driftwood larger, and adjusted the rocks to create a more balanced composition. You can experiment with different brush sizes, shapes, and opacities to perfect your scene.
Step 6: Finalize and Upscale
Once you’re happy with the generated image, click “Upscale” to get a high-resolution version of your image. The final result is a professional-looking product photo that looks as if it was shot with a carefully crafted background.
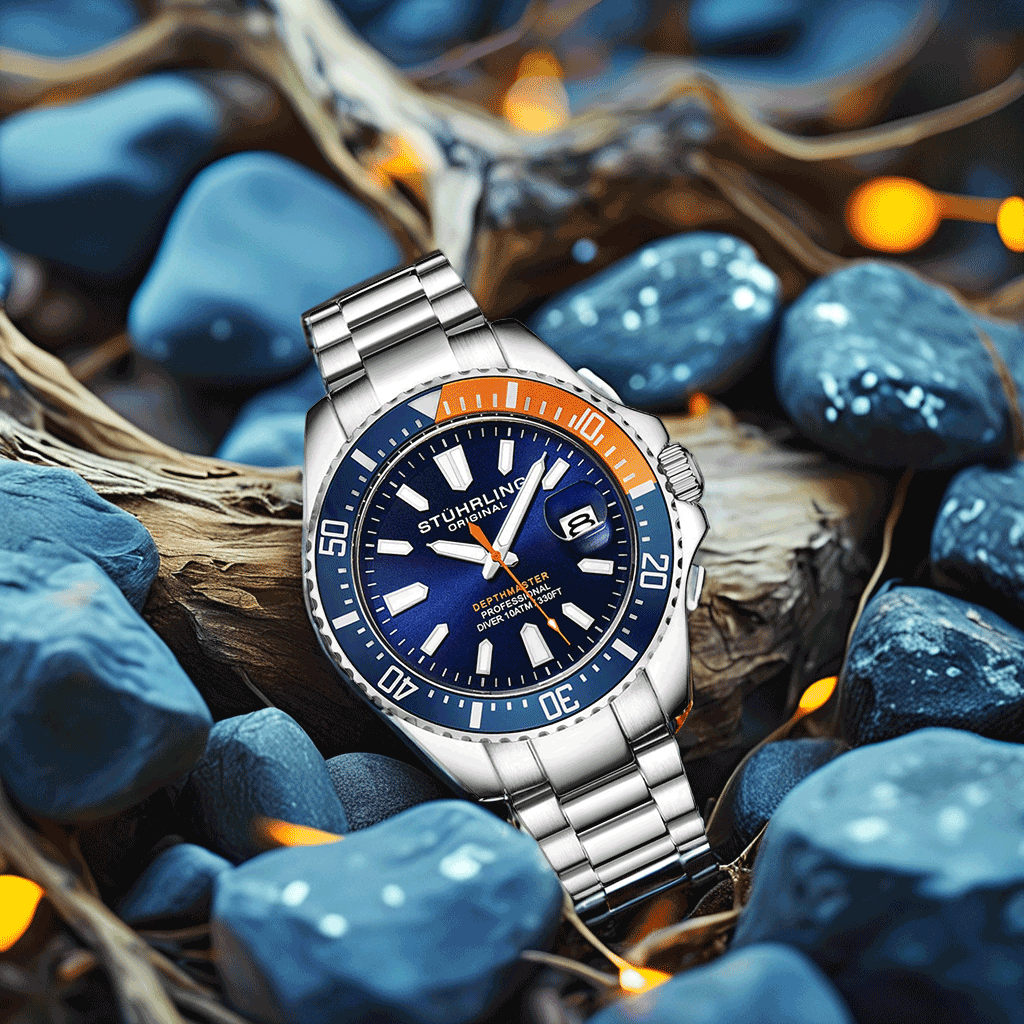
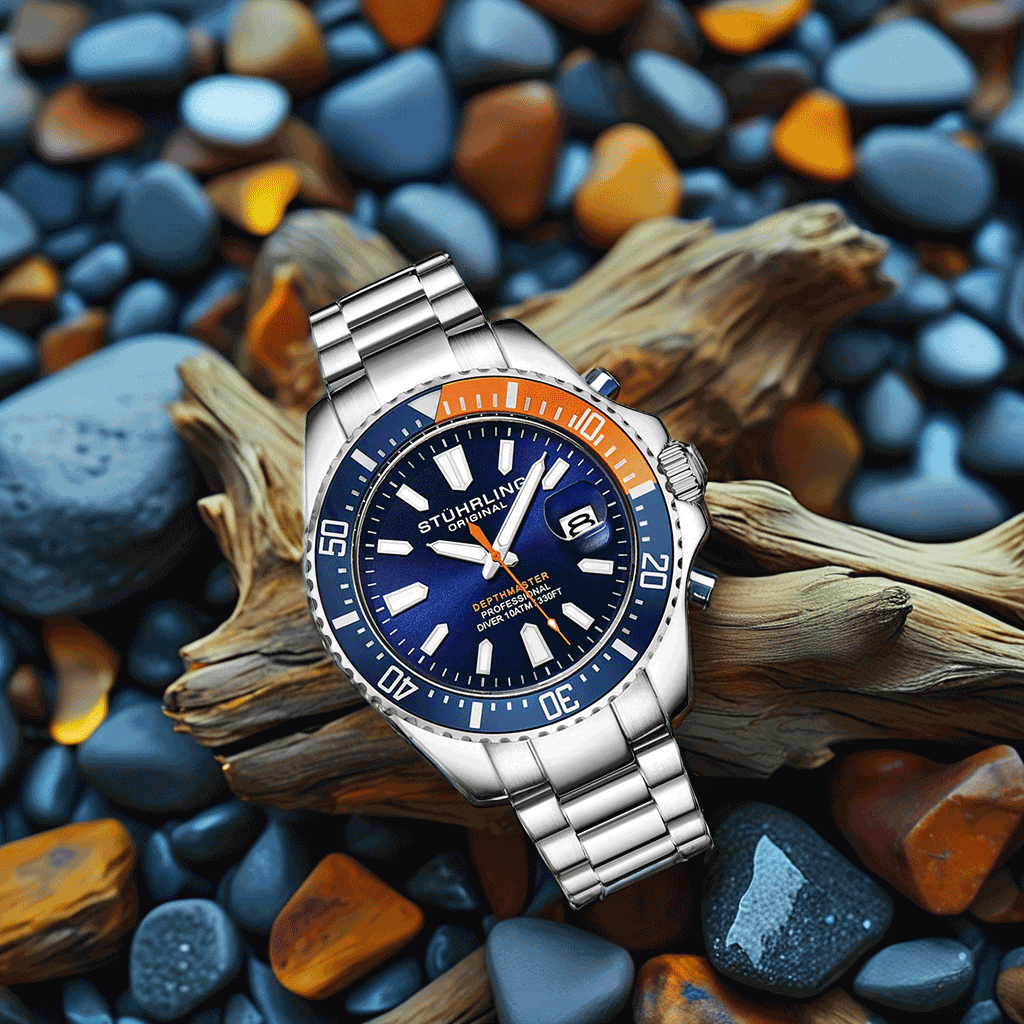
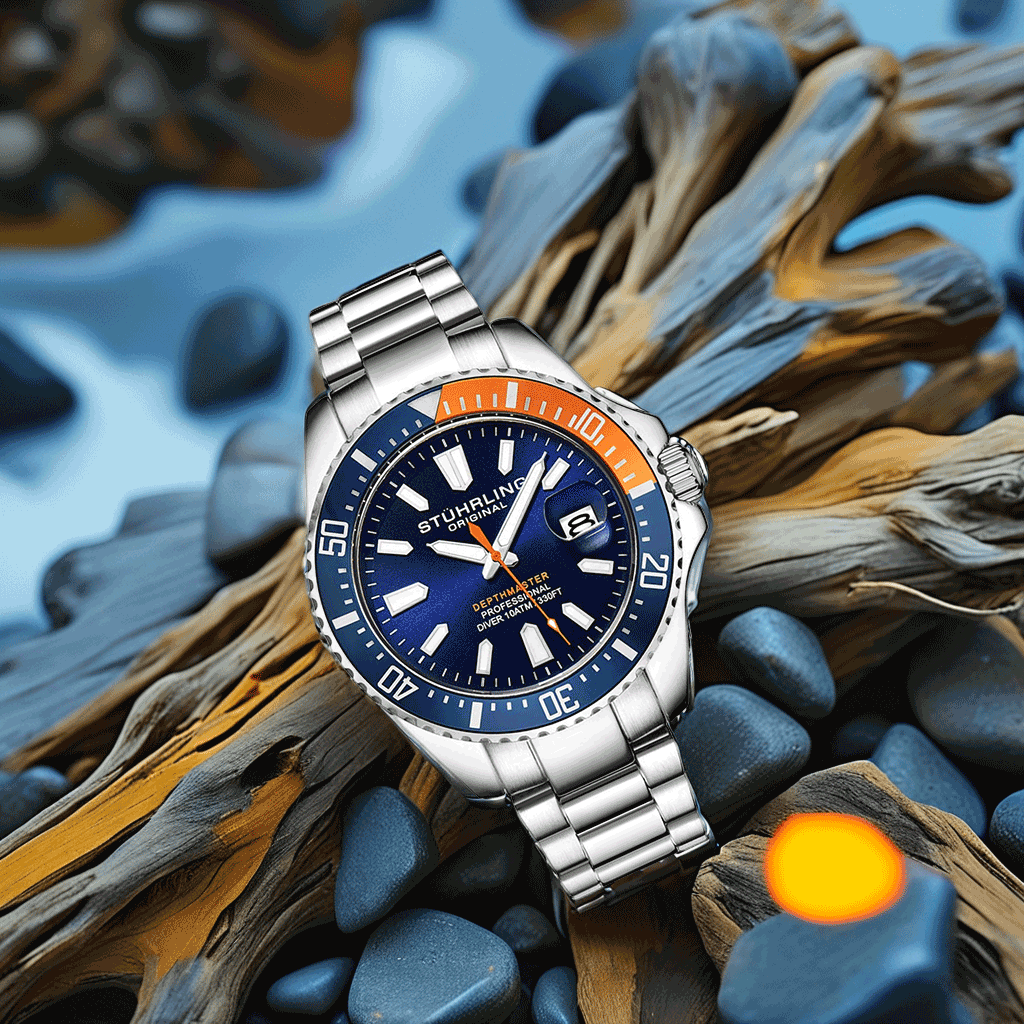
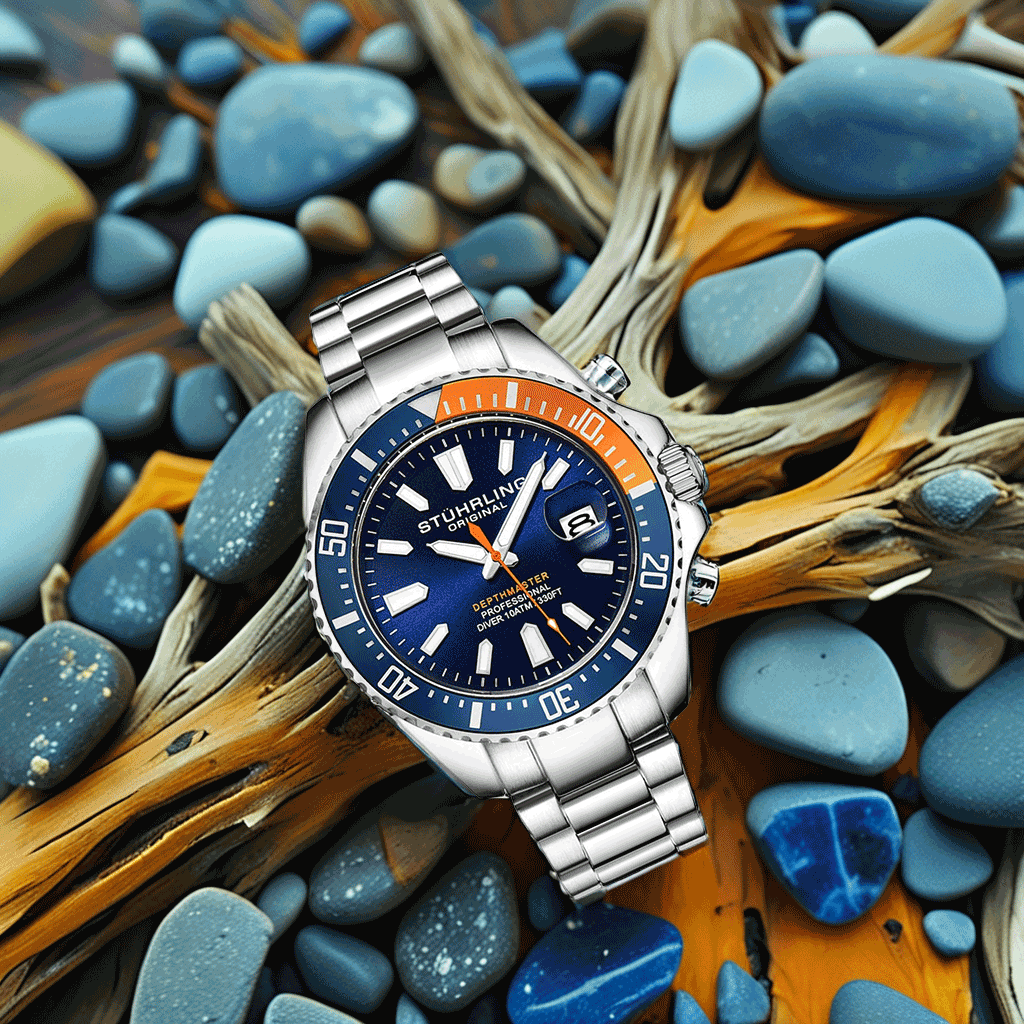
Here’s an example of the watch on driftwood that I created using this technique:


Get Started with NeuroViz
Ready to try it out yourself?
You can start using our Guided Photo Generator for free!
Learn More with Our Course
If you want to dive deeper into how to use the app like a pro, check out our dedicated course for photographers. The course is just $39, and that fee will be converted into $40 worth credits you can use in the app, so it’s essentially free!
